Right around this time last summer, we discovered the joys of pickled asparagus, thanks to Marisa McLellan's lovely book, Food in Jars: Preserving in Small Batches Year-Round.
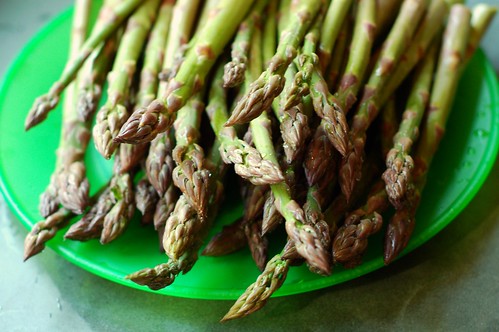
We'd made a quick trip (all trips must be quick when you have a nine-month-old who is not a fan of the car) across the Hudson River to pick strawberries at Greig Farm. Once we'd filled our buckets and our bellies, we noticed that there were these funny-looking things sticking up in the next field over. Upon closer investigation, they turned out to be asparagus. So we picked some of that, too.
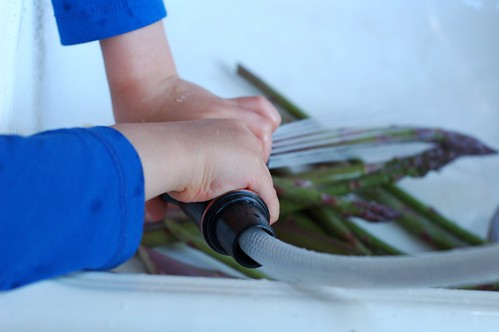
When we got home, we divided our asparagus haul into two piles. One to use fresh for tasty things like grilled asparagus with parmesan and garlic and one to pickle. As is often the case when he's been involved in the picking of something, our older son was very enthusiastic about the pickling project. He particularly enjoyed cleaning the asparagus spears with the sprayer.
When he'd had his fill of fun at the sink, we had a big mound of clean asparagus to pickle and rather a lot of water to clean up.
He also enjoyed measuring out the pickling spices into the Mason jars while my husband blanched the asparagus spears. Plink - a juniper berry for you. Plunk - an allspice berry for you. Plonk - a garlic clove for you...
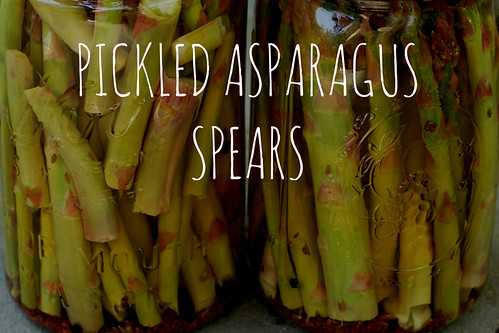
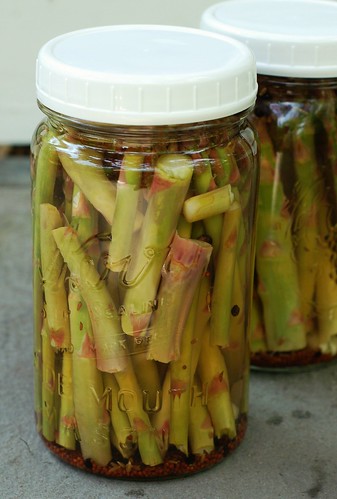
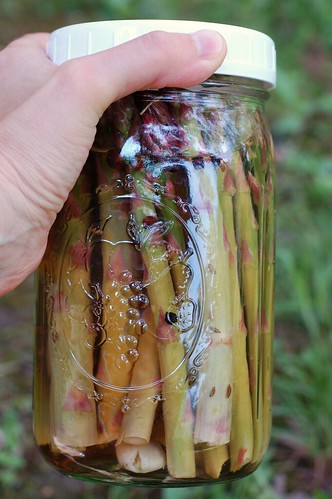
We took over when it was time to deal with packing the jars, pouring the hot brine into them and processing them in the hot water bath. One important tip is to try to find the tall jars - that way you won't need to trim the spears much.
After an agonizing wait, one week later we finally cracked open a jar and dipped our fingers into the brine to fish out a few spears. The first bite was a revelation -- the garlic, salt, cider vinegar and spices amplify the natural umami of asparagus, turning it into something totally new and instantly addictive.
If you and your family and friends don't end up devouring them all in one sitting, you can keep the jar covered in the fridge after you open it. I've bought a few of these plastic storage lids by Ball
Pickled Asparagus Spears slightly adapted from Marisa's recipe at Food In Jars.
Makes two 24-ounce jars
Ingredients
* 3 pounds asparagus, trimmed to fit your jars
* 1 1/2 cups apple cider vinegar
* 1 1/2 cups filtered water
* 2 tablespoons pickling salt
* 4 garlic cloves, peeled
* 2 teaspoons crushed red pepper flakes
* 2 teaspoons yellow or black mustard seeds
* 8 allspice berries
* 6 juniper berries
* 2 teaspoons black peppercorns
* 4 bay leaves
Directions
1. If you are new to canning, you should probably start here. Prepare a boiling water bath canner and two 24-ounce jars (you can also substitute four 12-ounce jelly jars). Place lids in a small pan of water and bring to a bare simmer.
2. Combine apple cider vinegar, water and salt in a saucepan and bring to a boil.
3. Fill a pan with several inches of water and bring to a boil. While the blanching pot heats, wash asparagus and trim to fit in your jars.
4. When water is boiling, blanch asparagus for 60 seconds. When time is up, transfer asparagus to a colander and rinse with cold water.
5. Remove jars from the canning pot and drain. Divide garlic cloves, crushed red pepper flakes, bay leaves, juniper berries, allspice berries, peppercorns, and mustard seed evenly between jars. Pack asparagus spears into jars.
6. Pour pickling liquid over the asparagus, leaving 1/2 inch headspace. Tap jars gently to remove any air bubbles. Add more liquid to return headspace to 1/2 inch, if necessary.
7. Wipe rims, apply lids and rings, and process jars in a boiling water bath canner for 10 minutes. When time is up, remove jars from canner and let them cool on a folded kitchen towel. Let them cure for at least a week before eating.
You might also like:
Want even more recipes, photos, giveaways, and food-related inspiration? "Like" the Garden of Eating on Facebook, or follow me on Twitter or Pinterest.


EmoticonEmoticon