Our record-breaking tomato harvest has already
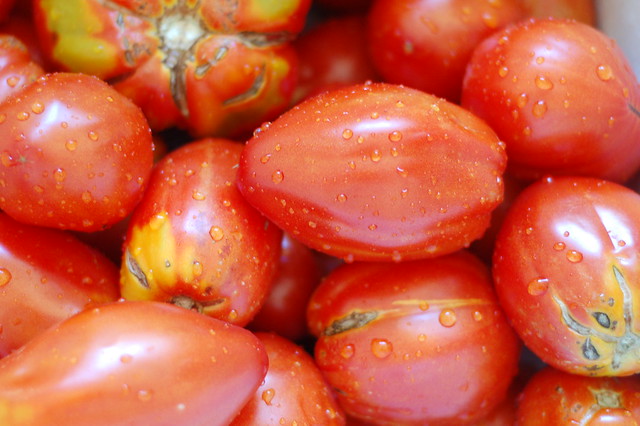
Needless to say, I've been frantically searching through all my favorite canning books (that's Food In Jars, Put 'Em Up, Saving the Season and the Ball Book, in case you were curious) for ideas. I also use the interwebs, of course. I got the idea for tomato soup from this site.
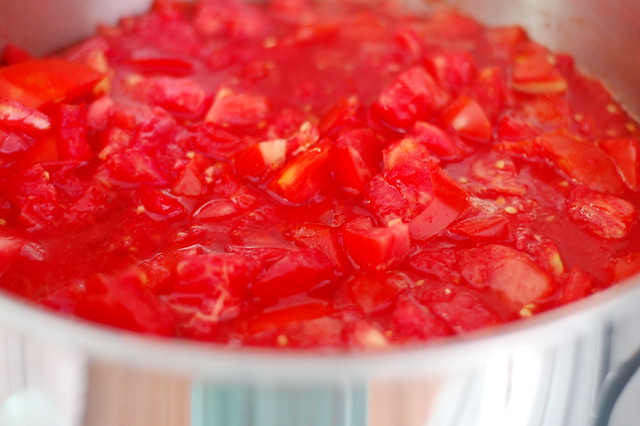
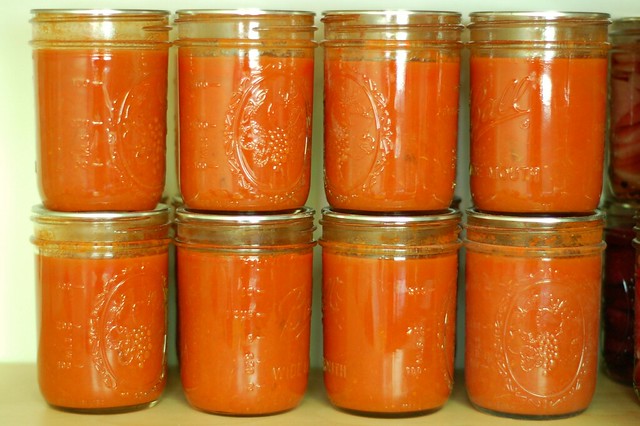
I've always loved tomato soup, especially with grilled cheese. As the tomatoes continued to mound up, it seemed like a better and better idea. A shelf filled with jars of my own homemade version of Campbells tomato soup that I could pop open any time a craving struck... Heavenly, right?
So I did it, quadrupling the recipe below. I'm not going to lie to you, between the slicing and the simmering and the straining and the canning, it was a lot of work. But I think it will be well worth the effort when I get to enjoy creamy tomato soup and crispy, melty grilled cheese on cold, gray days this winter.
I did need two pieces of equipment I don't often use - my food mill and my pressure canner. But if you do not have either one, you can use a sieve (more work and time but the same results) and you can always just freeze the soup rather than canning it - it's a lot easier that way!
-- print recipe --
Homemade Tomato Soup
Makes 4 pints
Ingredients
* 8 lbs ripe tomatoes, cored and quartered (you don't need to peel them)
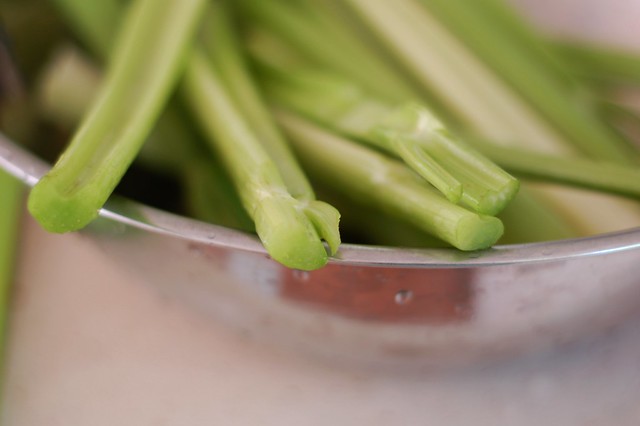
* 1 cup celery, diced
* 2 cups onion, diced
* 4 cloves garlic, pressed or minced
* 6 bay leaves
* 1/2 tsps black pepper
* 2 1/2 Tbsps sea salt
* 1/4 cup cane sugar
* 1 tsp citric acid or 4 Tbsps bottled lemon juice (for canning only)
Directions
1. Place the tomatoes, celery, onion, garlic and bay leaves in a large stainless steel pot and cook gently, uncovered, until tender, stirring as needed. Remove the bay leaves and puree the soup right in the pot, using an immersion blender.
2. Pass the mixture through a food mill or sieve into a large stainless steel pot to remove the skins and seeds (some of the seeds made it through mine but I don't mind them.) If you're planning to can your soup, prepare the canner and sterilize your jars and lids - it can take a while to get all that water boiling.
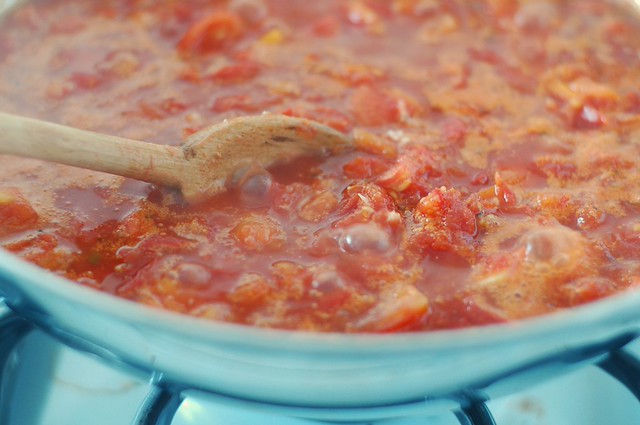
3. Bring the soup back to a boil, then turn down to a simmer and add the salt and sugar. Reduce the soup until it's thicker than you want it to be when you actually eat it since you will be thinning it with milk or broth. If you're not canning the soup, congratulations, you're done!
4. If you are canning the soup, put the heat on high and let the steam in the pressure canner escape through the vent for 10 minutes to purge the airspace inside the canner. Then put the weight on and let the pressure build to 10 to 15 pounds pressure in a weighted gauge canner or 11 to 13 pounds in a dial-type gauge canner.
5. When you're ready to can, add 1 tablespoon bottled lemon juice or 1/4 teaspoon citric acid to the bottom of each of your sterilized pint jars then ladle the hot soup into the jars, leaving 1/2-inch headspace. Wipe the rims with a clean, wet cloth and place the lids on the jars, then apply the bands and tighten to fingertip tightness. If you want to use quart jars, double the amount of lemon juice or citric acid and process for twice as long.
6. Process pints for 25 minutes in a pressure canner at 10 pounds of pressure for weighted gauge canners and 11 pounds for dial gauge canners. Then turn off the heat and let vent until the canner is cool enough to open, then remove the jars and let cool on a kitchen towel in a draft-free space for 12-24 hours. Remove the bands, test the seals (store any that failed in the fridge and use within a couple of weeks) and store for up to a year.
7. When you're ready to eat the soup, pour it into a pot and heat over a medium flame, thinning with milk, chicken broth or water to your desired consistency. If the soup is too thin, you can make a slurry of a little flour and water to thicken it, stir it in and let it cook for a couple minutes.
Homemade Tomato Soup
Makes 4 pints
Ingredients
* 8 lbs ripe tomatoes, cored and quartered (you don't need to peel them)
* 1 cup celery, diced
* 2 cups onion, diced
* 4 cloves garlic, pressed or minced
* 6 bay leaves
* 1/2 tsps black pepper
* 2 1/2 Tbsps sea salt
* 1/4 cup cane sugar
* 1 tsp citric acid or 4 Tbsps bottled lemon juice (for canning only)
Directions
1. Place the tomatoes, celery, onion, garlic and bay leaves in a large stainless steel pot and cook gently, uncovered, until tender, stirring as needed. Remove the bay leaves and puree the soup right in the pot, using an immersion blender.
2. Pass the mixture through a food mill or sieve into a large stainless steel pot to remove the skins and seeds (some of the seeds made it through mine but I don't mind them.) If you're planning to can your soup, prepare the canner and sterilize your jars and lids - it can take a while to get all that water boiling.
3. Bring the soup back to a boil, then turn down to a simmer and add the salt and sugar. Reduce the soup until it's thicker than you want it to be when you actually eat it since you will be thinning it with milk or broth. If you're not canning the soup, congratulations, you're done!
4. If you are canning the soup, put the heat on high and let the steam in the pressure canner escape through the vent for 10 minutes to purge the airspace inside the canner. Then put the weight on and let the pressure build to 10 to 15 pounds pressure in a weighted gauge canner or 11 to 13 pounds in a dial-type gauge canner.
5. When you're ready to can, add 1 tablespoon bottled lemon juice or 1/4 teaspoon citric acid to the bottom of each of your sterilized pint jars then ladle the hot soup into the jars, leaving 1/2-inch headspace. Wipe the rims with a clean, wet cloth and place the lids on the jars, then apply the bands and tighten to fingertip tightness. If you want to use quart jars, double the amount of lemon juice or citric acid and process for twice as long.
6. Process pints for 25 minutes in a pressure canner at 10 pounds of pressure for weighted gauge canners and 11 pounds for dial gauge canners. Then turn off the heat and let vent until the canner is cool enough to open, then remove the jars and let cool on a kitchen towel in a draft-free space for 12-24 hours. Remove the bands, test the seals (store any that failed in the fridge and use within a couple of weeks) and store for up to a year.
7. When you're ready to eat the soup, pour it into a pot and heat over a medium flame, thinning with milk, chicken broth or water to your desired consistency. If the soup is too thin, you can make a slurry of a little flour and water to thicken it, stir it in and let it cook for a couple minutes.
You might also like:


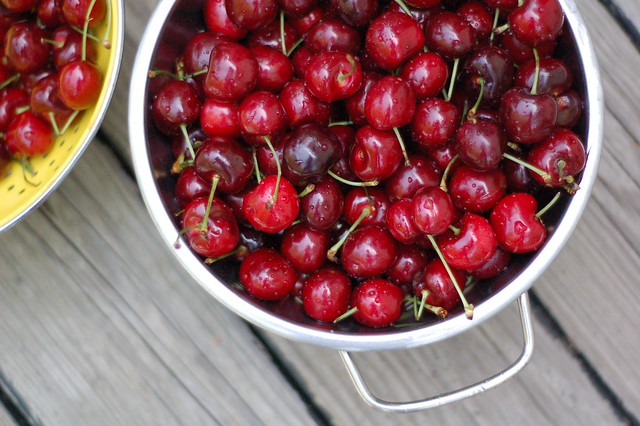
 (the name never fails to crack me up) we also dried about a quart of cherries and made two trays of delicious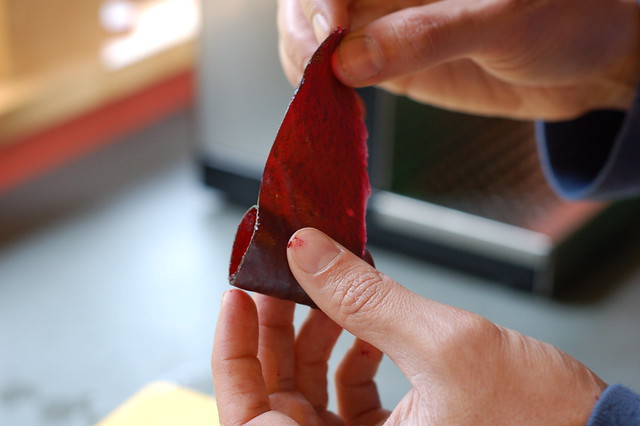
 - they're perfect little packages of preserving goodness.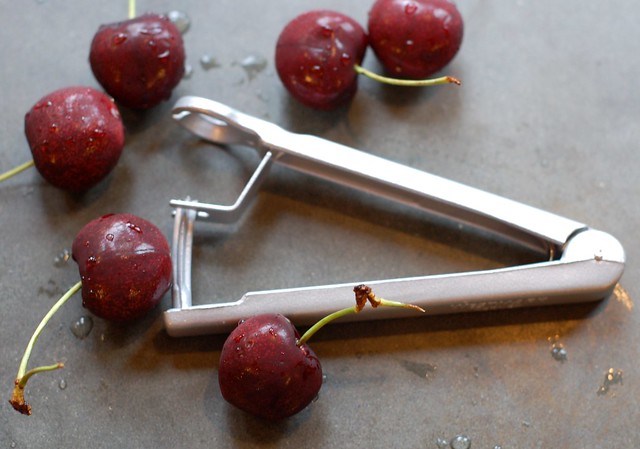
 that works quite well but I have had covetous thoughts about this
  that supposedly limits the splattering... It's only $13 so I may splurge at some point, methinks.