Tampilkan postingan dengan label pickle recipes. Tampilkan semua postingan

Sabtu, 30 Juli 2016

Dilly Beans (Pickled Green Beans)

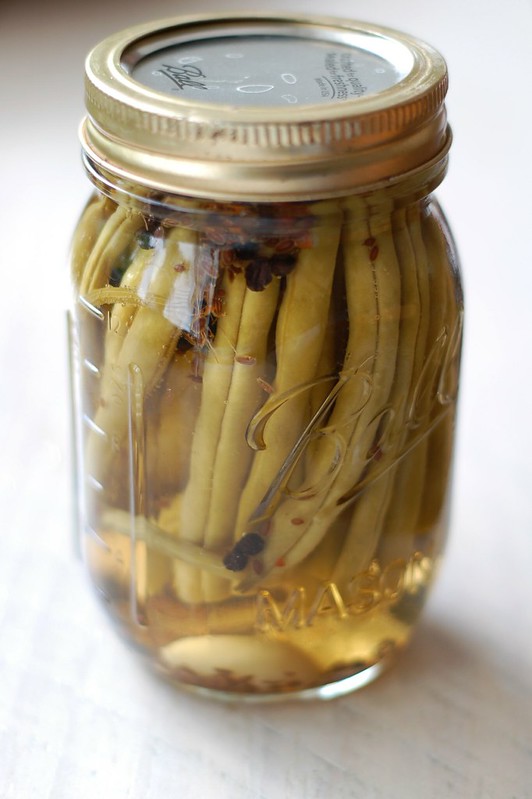
Dilly beans - a.k.a. pickled green beans by Eve Fox, the Garden of Eating, copyright 2016

I didn't grow up with dilly beans so I never knew about them until our friend, Ben busted out a jar he'd made and I bit into my first crunchy, garlicky, dilly pickled green bean. I was immediately smitten.

Fortunately, my mom-in-law planted way too many bush bean plants this spring and she's practically drowning in beautiful beans. When she brought a huge bag over the other day, I thought DILLY BEANS!!!
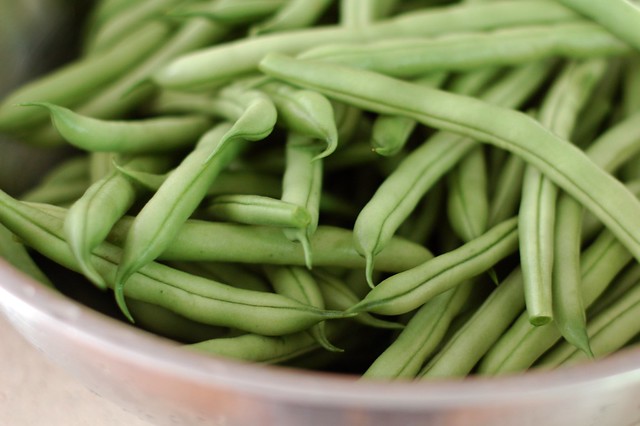
Green beans by Eve Fox, the Garden of Eating, copyright 2016

Since our three cucumber plants are determined to fill the world with bumpy, little, green penises, I also made dill pickles at the same time, using the same spices and brine. But that's a post for another day.
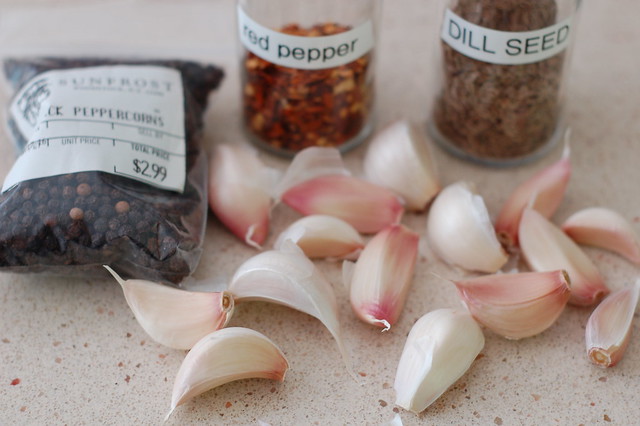
Spices for dilly beans by Eve Fox, the Garden of Eating, copyright 2016

The recipe below is adapted from Marisa McLellan's excellent blog, Food In Jars. If you like canning, you owe it to yourself to get at least one of her wonderful books. I use my copy of her beautiful, little book, Food In Jars all the time - it's one of my go-to resources for canning and preserving.

As with all preserves, use the freshest ingredients you can get. If you have a garden, pick your beans and your dill the same morning you plan to can. They are delicious eaten right out of the jar and make a wonderful substitute for a pickle with a sandwich or burger. They're also the toast of any cheese plate. (Yes, that was a pun.) Happy munching.
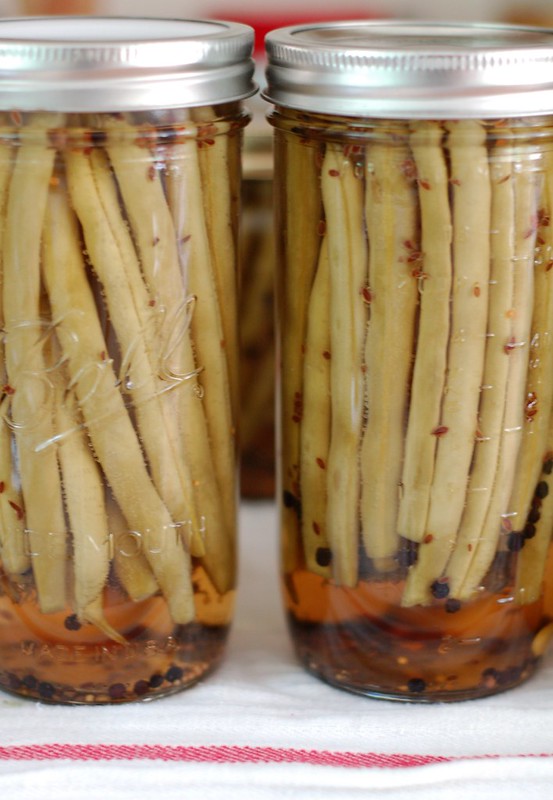

Dilly beans - a.k.a. pickled green beans by Eve Fox, the Garden of Eating, copyright 2016

-- print recipe --
Dilly Beans
Makes 4 pints

Ingredients

* 2 pounds fresh green beans, trimmed to fit your jars
* 2 1/2 cups apple cider vinegar (5% acidity)
* 2 1/2 cups water
* 2 Tbsps pickling or fine sea salt
* 4 tsps dill seed (1 tsp per jar)
* 2 tsps black peppercorns (1/2 tsp per jar)
* 1 tsp red chili flakes (1/4 tsp per jar)
* 4 cloves garlic, peeled (1 clove per jar)
* 8 sprigs fresh dill rinsed (2 sprigs per jar)

Directions

1. Bring a canning pot of water to a boil and sterilize 4 pint jars. Place 4 lids in a small pot of water and bring to a bare simmer.

2. Wash and trim your beans so that they fit in your jar, leaving about an inch of headspace. If you have particularly long beans, cut them in half.

3. In a medium saucepan, combine the vinegar, water and salt and bring to a boil.

4. Divide the dill seed, peppercorns, red chili flake, and garlic cloves evenly between the four jars and pack the beans carefully into the jars over top of the spices.

5. Pour the boiling brine over the beans, leaving 1/2 inch headspace and gently tap the jars to loosen any trapped air bubbles. If you have any stubborn bubbles, use a clean chopstick, skewer or knife to wiggle them out.

6. Using a damp cloth or paper towel, wipe the jar rims, apply the lids and bands, tightening with your fingers only.

7. Process the jars in a boiling water bath for 10 minutes then use your jar lifter to remove them and place them in a draft-free location on a heavy kitchen towel to cool.

8. Once the jars are cool enough to handle, remove the bands and test the seals. Sealed jars can be stored in the pantry for up to a year. Any jars the seals failed on should be placed in the fridge and eaten within a couple of weeks. *Please note: wait at least two weeks before you eat any of the beans to give them time to develop their flavor.

You might also like:


Kamis, 21 Juli 2016

Pickled Carrots with Coriander & Cumin Seed

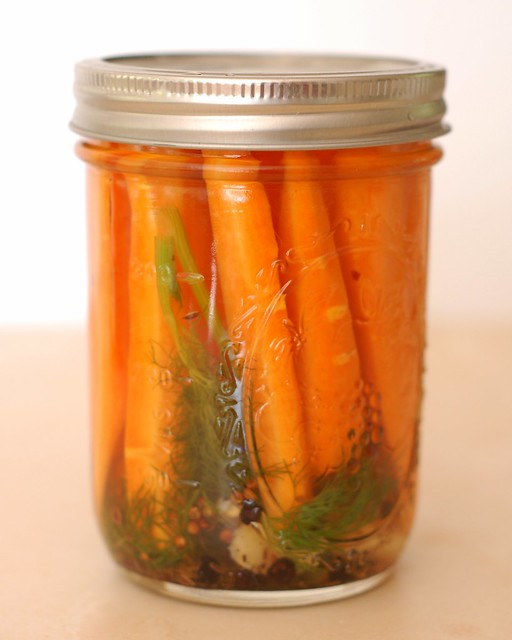
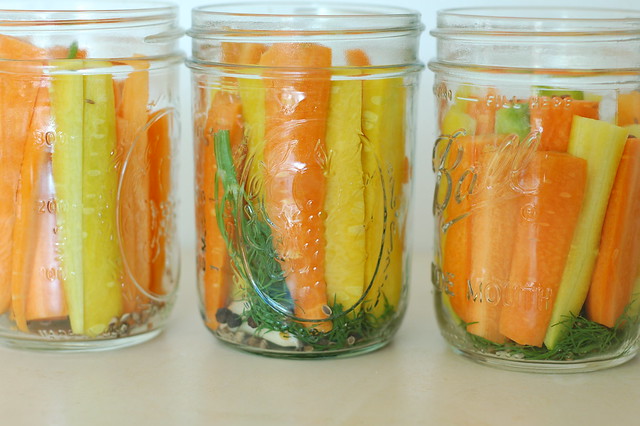
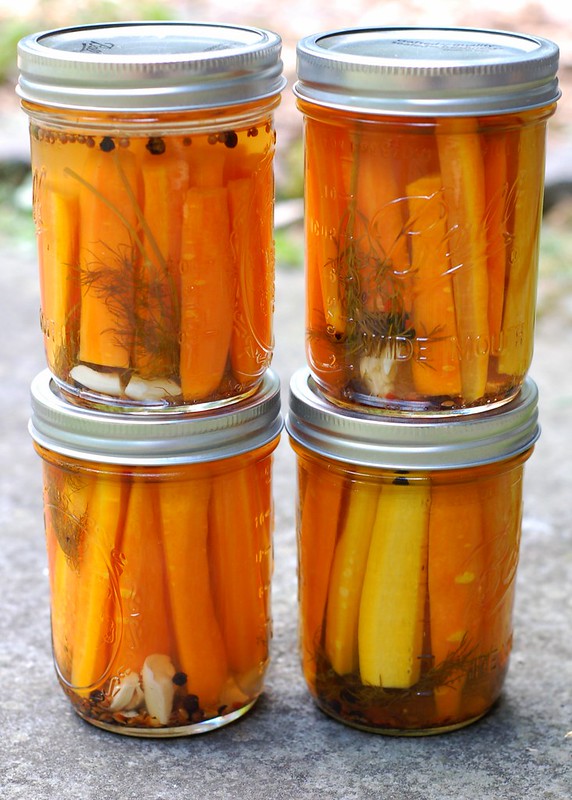
Pickled carrots with coriander from the Ball Book of Canning & Preserving by Eve Fox, the Garden of Eating, copyright 2016

Tomorrow is Can-It-Forward Day and these carrots are a great way to celebrate. Crunchy, sweet, salty, piquant and wonderfully flavorful, these pickled carrots deserve top billing on any cheese or charcuterie plate.

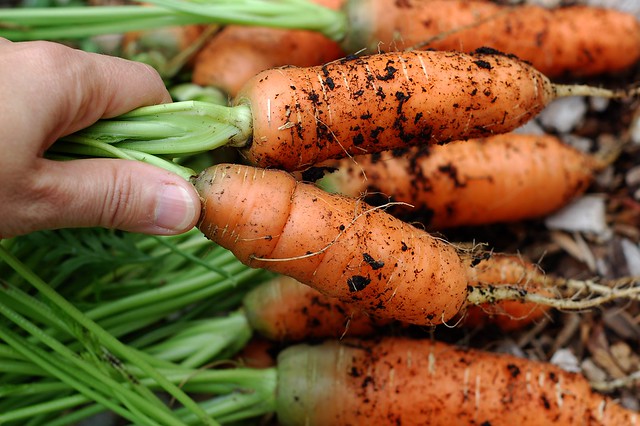
The carrots in our garden are practically begging to be picked right now. And although my little boy bunnies will happily eat a couple of carrots a day, we planted a lot more than we can eat. This seemed like the perfect way to preserve some of them for future eating enjoyment.

Nantes carrots from the garden by Eve Fox, the Garden of Eating, copyright 2015

If you don't grow your own carrots, pick up a bunch or two at your local farmers' market or farm stand.

Carrots from our garden by Eve Fox, the Garden of Eating, copyright 2016

The recipe below is adapted from the All New Ball Book of Canning and Preserving - one of the many recipes I'd tagged to try. I have both the old and the new Ball books and they're both great resources (click here and scroll down for more canning and preserving cookbooks, blogs and resources I like.)

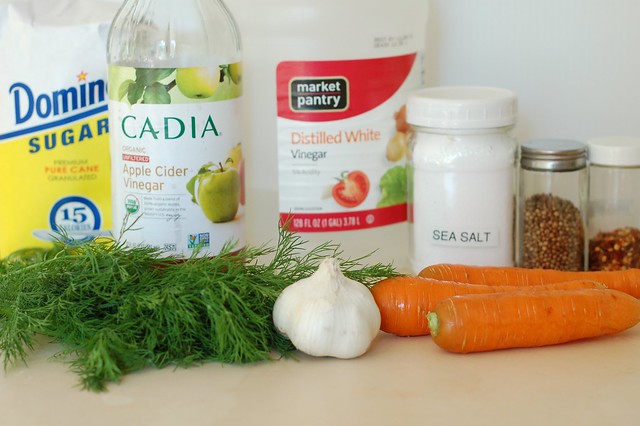
Ingredients for pickled carrots with coriander seedfrom the All New Ball Book of Canning & Preserving by Eve Fox, the Garden of Eating, copyright 2016

As with any canning project, it's easy if you follow the steps and make sure you have everything you need ready to go (I often find that I have run out of lids or bands and have to run out to the store mid-project...)

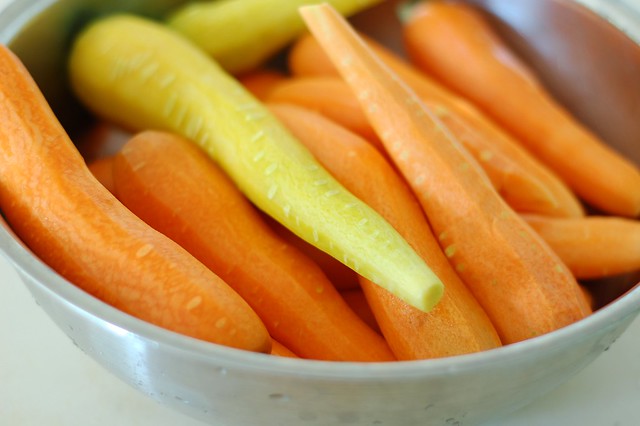
Packing the jars with carrots before adding the brine by Eve Fox, the Garden of Eating, copyright 2016

If you feel overwhelmed by the prospect of canning something, you can always make these as refrigerator pickles - do everything through step 4 but stop short of actually processing the filled jars in the boiling water bath. Instead, just cover tightly and store in the fridge for up to a month. Enjoy!

Pickled carrots with coriander from the Ball Book of Canning & Preserving by Eve Fox, the Garden of Eating, copyright 2016

If you're new to canning, start by reading this little primer I've put together.

-- print recipe --
Pickled Carrots with Coriander & Cumin Seed
Makes four 1-pint jars

Ingredients

* 3 pounds small (3- to 5-inch) carrots
* 3 cups white vinegar (5% acidity)
* 1/2 cup cider vinegar
* 1 cup water
* 1/4 cup non-iodized salt (you can either use canning salt or plain old sea salt but skip the iodized table salt as it imparts a yucky flavor to the food)
* 1/4 cup cane sugar
* 2 tsps coriander seeds
* 2 tsps cumin seed
* 2 tsps black peppercorns
* 1 tsp red pepper seed
* 4 garlic cloves, peeled
* 8 sprigs fresh dill

Directions

1. Bring a large pot of water to a boil and sterilize the jars, lids and bands.

2. While your jars are boiling, wash and peel the carrots and remove the tops. Trim any carrots that are longer than 4 inches so that they’ll fit comfortably within the jars and cut them in half lengthwise. Or, if you're using longer, fatter carrots, cut them to the right length to fit into your pint jars and slice them into quarters or sixths, depending on how fat they are.

3. Combine the vinegar, salt, sugar and water in a 4-qt. stainless steel saucepan. Bring to a boil over medium heat, stirring until salt and sugar dissolve then reduce the heat and simmer until ready to fill jars.

4. Divide the dried spices, garlic and fresh and dill evenly between the jars then pack tightly with the sliced. Ladle the hot pickling liquid into the jars to cover all the carrots, 1/2-inch headspace. Lay the lids on top and add the bands, tightening with your fingers. Using your jar lifter, place the jars in the boiling water bath and process for 15 minutes.

5. Remove the jars from the boiling water bath and let stand, undisturbed, at room temperature for 24 hours. Check the seals by removing the bands and picking the jar up by the lid only. If the lid is firm, the seal is good. If not, you can either open it up and re-process it but I would just keep that jar in the fridge. Store properly sealed jars in a cool, dark place for several weeks before tasting. Store jars in a cool, dark place for up to a year. Refrigerate after opening.

You might also like:


Senin, 27 April 2015

Pickled Daikon Radish Threads

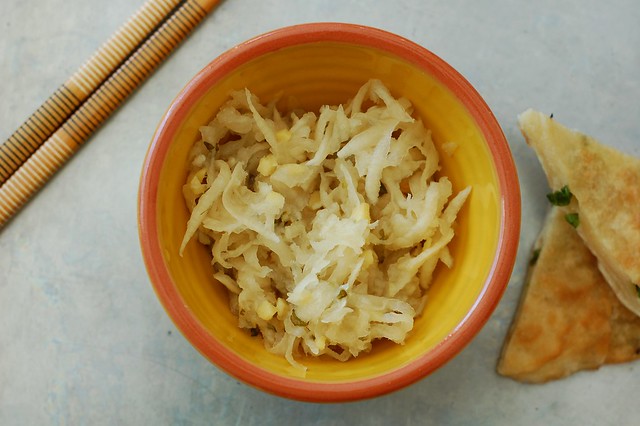
Pickled daikon radish threads with green onion pancakes by Eve Fox, The Garden of Eating, copyright 2015

When I was pregnant with my younger son, I developed a powerful craving for pickled daikon. Something about its pungent flavor - equal parts spicy, sharp, nutty & sweet - proved irresistible to me. And even though my "baby" is now two and a half years old, I'm still going strong with this root vegetable.

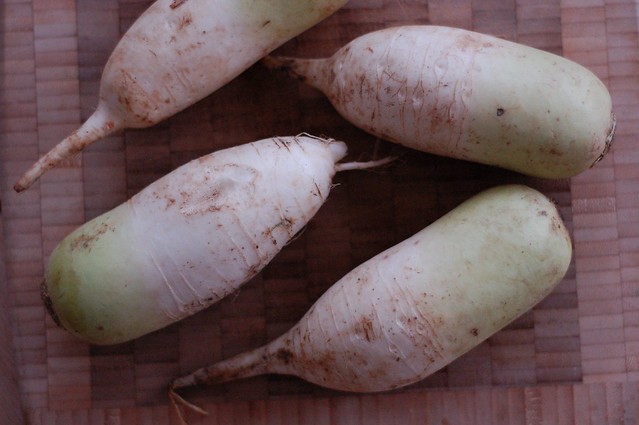
Daikon radishes by Eve Fox, The Garden of Eating, copyright 2015

If I'm in a rush, I simply grate the daikon, add some rice vinegar, a dash of sugar and a pinch of sea salt and call it a day. But if I have more time, I make the recipe below which takes a little longer and has more complex flavors.

Adding fresh ginger, garlic, chili pepper and a little sesame oil to pungent fresh daikon makes for one hell of a mouthful. I cannot get enough of the stuff although my husband finds it overpowering. That just means more for me!

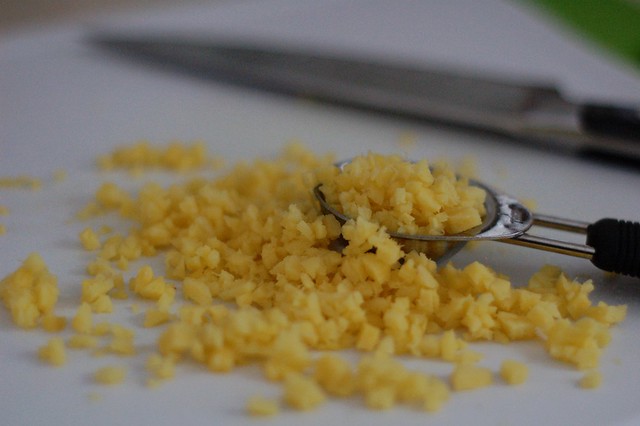
Mincing ginger for the pickled daikon radish threads by Eve Fox, the Garden of Eating, copyright 2015

I've cobbled the recipe below together from the email instructions sent to me by the good folks at Imperial Tea Court in North Berkeley (where I got my first taste of pickled daikon) and from the recipe for Tenzin's quick pickled radish threads in Naomi Duguid and Jeffrey Alford's excellent book, Beyond the Great Wall which is a feast for the eyes as well as the mouth. I love their books - part cookbook, part photo essay, part travelogue - you can really lose yourself in them, but bring some post-its or something to mark all the recipes you'll want to try.
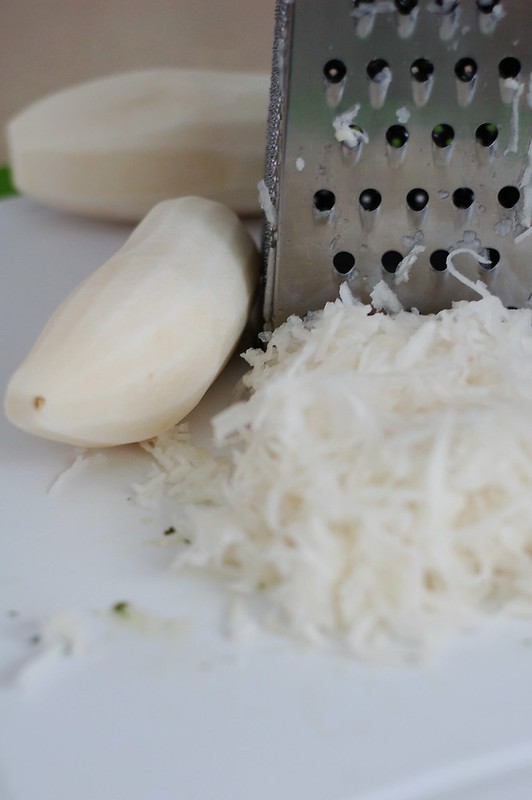
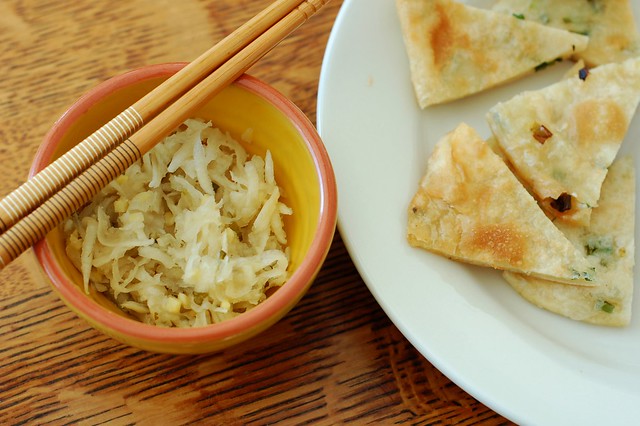
Grating the daikon to make pickled daikon radish by Eve Fox, The Garden of Eating, copyright 2015

Although I often eat this stuff straight out of the jar, it's probably more civilized to use a little bit in your rice bowl  or as an accompaniment to scallion pancakes or baked tofu. Naomi and Jeffrey mention that they like to eat it mounded on salty, buttered toast so that's one more way to try it.

Pickled daikon radish threads with green onion pancakes by Eve Fox, The Garden of Eating, copyright 2015

You can store this in the fridge in a jar with tight-fitting lid for several weeks. The flavors will mellow a bit with time.

-- print recipe --Pickled Daikon Radish Threads
Makes about 2 cups

Ingredients

* 1 pound daikon radish, peeled and grated
* 1 Tbsp minced or grated fresh ginger root
* 1 small clove of garlic, minced or pressed
* 1 Tbsp kosher salt
* 1 1/2 cups (unseasoned) rice vinegar
* 1/2 tsp ground white pepper or Sichuan peppercorns
* 2 tsps cane sugar

Directions

1. Place the daikon and the kosher salt in a colander and mix well with your hands. Let sit in the sink for 10 minutes to draw some of the water out of the radish - this will help it stay crisp. Do not rinse.

2. Place all the ingredients except the daikon in a mason jar, screw the lid on and shake vigorously for 30 seconds or so. Add the grated daikon, cover the jar and shake again. Chill for at least 12 hours before eating to allow the flavors time to develop. Store in the fridge for up to three weeks.

You might also like:
For more delicious recipes, gardening ideas, foraging tips, and food-related inspiration "like" the Garden of Eating on Facebook, or follow me on Twitter and Pinterest.

Senin, 14 Juli 2014

Bread & Butter Pickles

As a child, I had a huge sweet tooth. So bread and butter pickles were the only kind of pickles I ate. I've since come to embrace salty and sour foods and my pickle horizons have widened accordingly but these sweet, crunchy chips still hold a special place in my heart.

Bread & Butter Pickles by Eve Fox, the Garden of Eating, copyright 2014

My not quite two-year-old son seems to have inherited my fondness for them based on the way he stuffs them into his mouth with both hands. He can fit an astounding amount into that adorable little mouth of his...

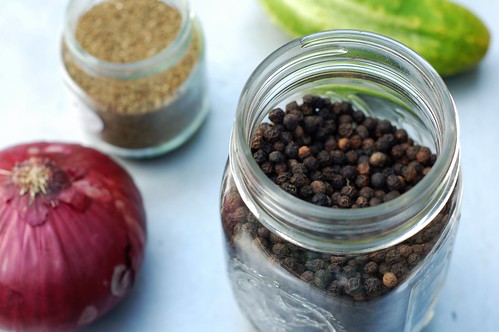
Spices for Bread & Butter Pickles by Eve Fox, the Garden of Eating, copyright 2014

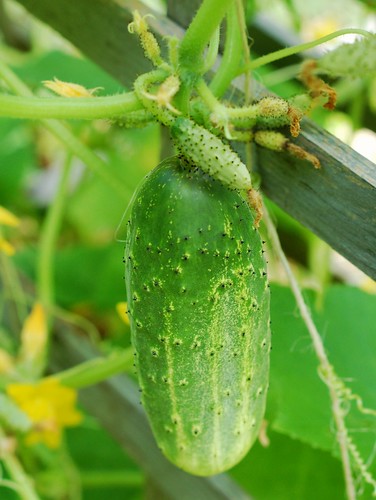
We made a big batch of these last summer but polished off our last jar two months ago and have been forced to bridge the gap with a jar from Trader Joe's so I was very happy to see the first pickles getting big enough to harvest. It's that time of year when things happen quickly in the garden. I could've sworn this cuke was only the size of my pinky finger just the day before I took this picture...

One of our cucumbers on the vine by Eve Fox, the Garden of Eating, copyright 2014

We began by grabbing our copy of Put 'em Up! by Sherri Brooks Vinton off the bookshelf. This is one of our favorite canning and preserving cookbooks as you can probably tell by the ridiculous number of recipes I've bookmarked.
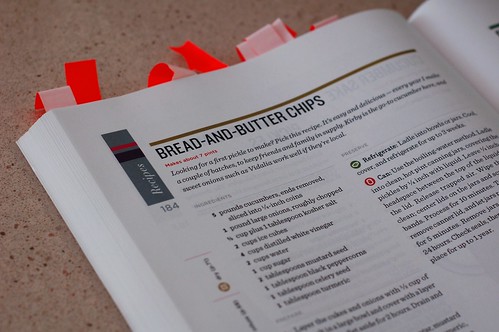
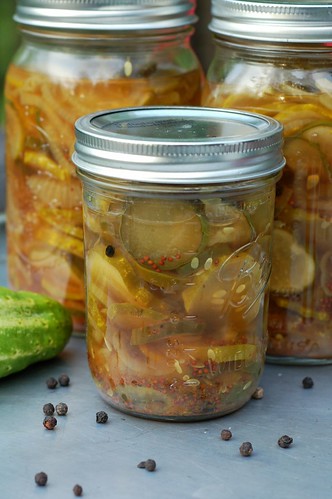
Sherri Brooks Vinton's Instructions in Put 'Em Up for Bread & Butter Pickles by Eve Fox, The Garden of Eating, copyright 2014

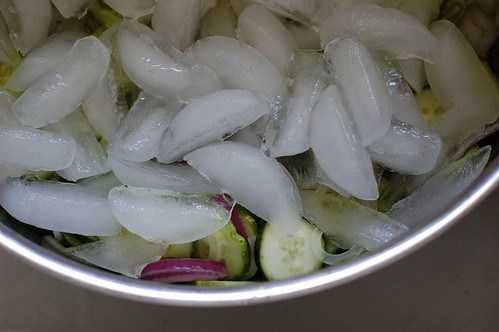
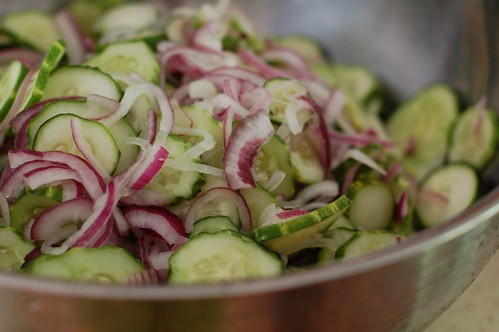
Then the slicing began. Luckily, my husband is something of a ninja with the kitchen knife. The end result of his hard work was a big bowl of sliced cucumbers and onions that got salted and placed under ice for two hours.

Salting and Icing the Cucumbers and Onions for Bread & Butter Pickles by Eve Fox, The Garden of Eating, copyright 2014

I made lunch, made a stab at cleaning up the ever-present mess that fills our entire home, fed the younger child (the pickle enthusiast), changed his diaper, and played a few sweet if utterly mind-numbing games with him. Then it was time to drain the cucumbers and onions and get the brine going.

Sliced Cucumbers and Onions for Bread & Butter Pickles by Eve Fox, The Garden of Eating, copyright 2014

Once the simple brine was ready, my husband tossed the cukes and onions in to soak up some flavor.

Preparing Bread & Butter Pickles by Eve Fox, The Garden of Eating, copyright 2014

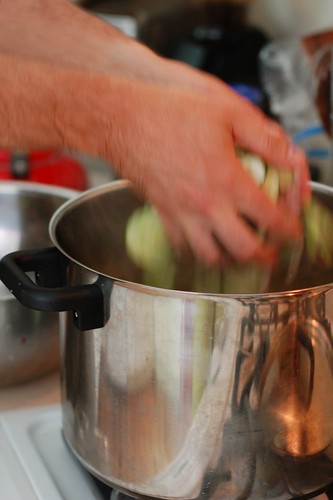
While that was cooking, we sterilized our jars and lids.Unfortunately, it was quite a hot day but it will be worth the sweat come winter time when we can grab a jar of these crunchy chips out of the pantry. And then it was time to fill the jars and process them.

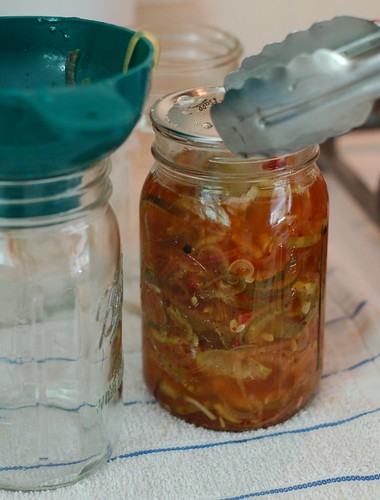
Filling the jars with Bread & Butter Pickles by Eve Fox, The Garden of Eating, copyright 2014

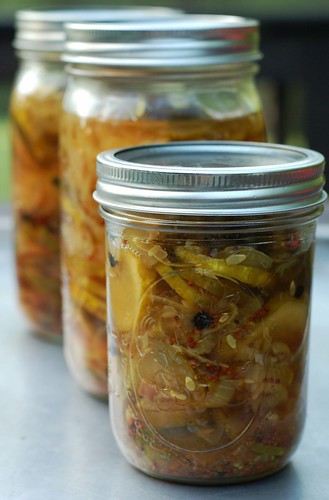
The payoff for slaving over a hot stove in 90 degree weather is being able to restock our pantry shelves with jars of these delightful coins, the perfect way to add a little sweetness and crunch to burgers, sandwiches and more.

Bread & Butter Pickles by Eve Fox, the Garden of Eating, copyright 2014

Bread & Butter Pickles from Sherri Brooks Vinton's excellent book, Put 'em Up!
Makes about 7-8 pints or 3-4 quarts

Ingredients

* 5 lbs cucumbers (Kirby's are ideal), ends removed and sliced into 1/4" coins
* 1 lb sweet onions, sliced (you can also roughly chop but I actually like to eat them along with the pickles and the slices are easier to handle
* 1/2 cup kosher salt
* 2 cups ice cubes   
* 4 cups distilled white vinegar - I like to buy white vinegar in bulk so I'm not caught out when I want to pickle something
* 2 cups water
* 1 cup organic cane sugar
* 2 Tbsp mustard seed
* 1 Tbsp black peppercorns
* 1 Tbsp celery seed
* 1 Tbsp turmeric
* 1 Tbsp kosher salt

Directions

1.Layer the cukes and onions with ½ cup of the salt in a large bowl and cover with a layer of ice cubes. Set aside for 2 hours. Drain and rinse in a colander.

2. Combine the vinegar, water, sugar, mustard seed, peppercorns, celery seed, turmeric, and the remaining 1 tablespoon salt in a large nonreactive saucepan and bring to a boil. Add the drained vegetables and return to a boil, stirring to ensure that all of the vegetables are heated through. Remove from the heat.

3. Now it's time to preserve them. You can either refrigerate them for short-term usage or can them for longer storage.

Refrigerate:
Ladle into bowls or jars. Cool, cover, and refrigerate for up to 3 weeks.

OR

Can:
Use the boiling-water method. Ladle into clean, hot pint canning jars, covering the pickles by ¼ inch with liquid. Leave ¼ inch of headspace between the top of the liquid and the lid. Release trapped air. Wipe the rims clean; center lids on the jars and screw on jar bands. Process for 10 minutes. Turn off heat, remove canner lid, and let jars rest in the water for 5 minutes. Remove jars and set aside for 24 hours. Check seals, then store in a cool, dark place for up to 1 year.

You might also like:


For more delicious recipes, drool-worthy photos, giveaways, and food-related inspiration "Like" the Garden of Eating on Facebook, or follow me on Twitter or Pinterest.