Tampilkan postingan dengan label canning and preserving. Tampilkan semua postingan

Sabtu, 02 Juli 2016

What To Do With Less Than Perfect Jam

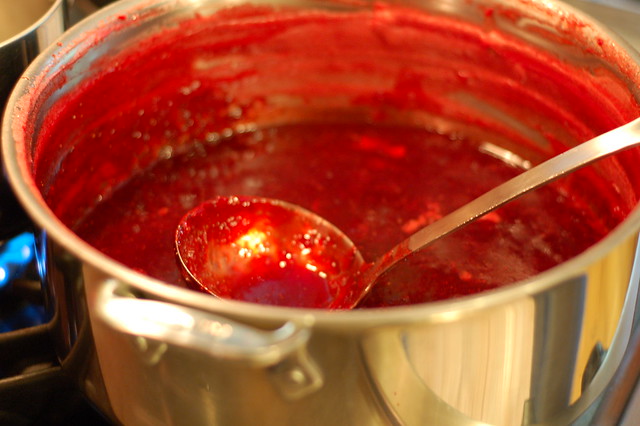
Jam ready to jar by Eve Fox, Garden of Eating blog, copyright 2012

Sometimes my jam is a flop. Either it does not set or I let it go too long and it turns into more of a "butter" than a jam. The silver lining is that there are delicious uses for these "flawed" jams. Or, if you simply have too much perfect jam on your hands, read on for creative ways to use it up.

Runny

Runny jam is just a fruit sauce that failed to live up to jammy expectations. Fortunately, fruit sauce is the perfect thing to:

  • Spoon into plain yogurt, 
  • Flavor and sweeten a smoothie or milkshake, 
  • Drizzle over pancakes or waffles,
  • Use as a sauce for decadent ice cream sundaes, 
  • Create wonderful cocktails (see here for some guidance) or non-alcoholic spritzers, or
  • Throw some into a marinade for meat or fish - a great way to add flavor, sugar and acid all in one fell swoop. I especially like to use a little apricot, fig or cherry jam in marinades.
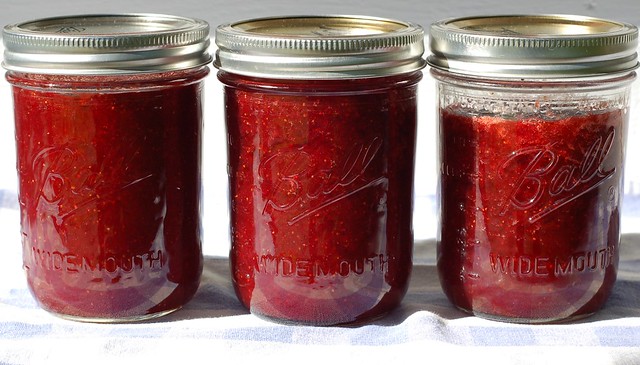
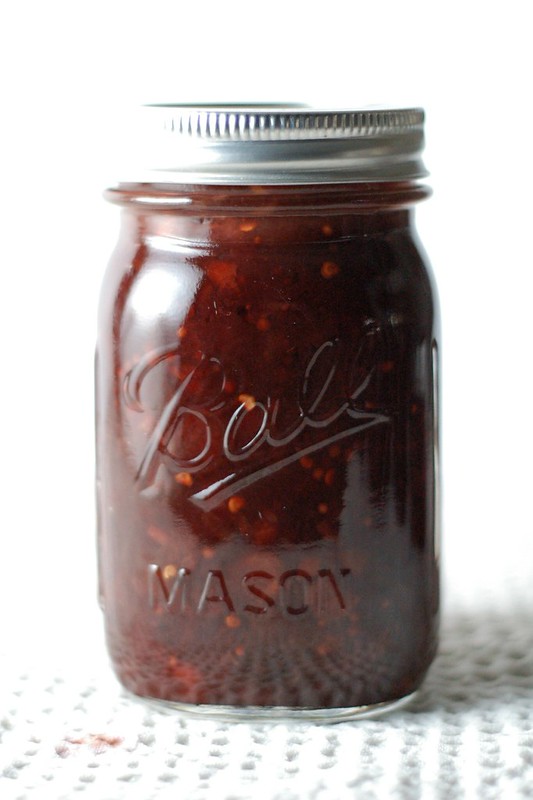
Three pints of homemade strawberry jam by Eve Fox, Garden of Eating blog, copyright 2012

Overboiled

On the other side of the spectrum, you may have a jam that boiled too long and is more like a fruit butter than a jewel-like jam.

There are many uses for this type of jam, including:
  • Add a huge shot of fruit flavor to a layer cake,
  • Swirl some into your cobbler, cornbread or muffin batter,
  • Fill a cookie or pastry - think hamantaschen, thumbprint cookies, scones, or danish.
  • Fill a tart - either a traditional one or a DIY pop-tart.
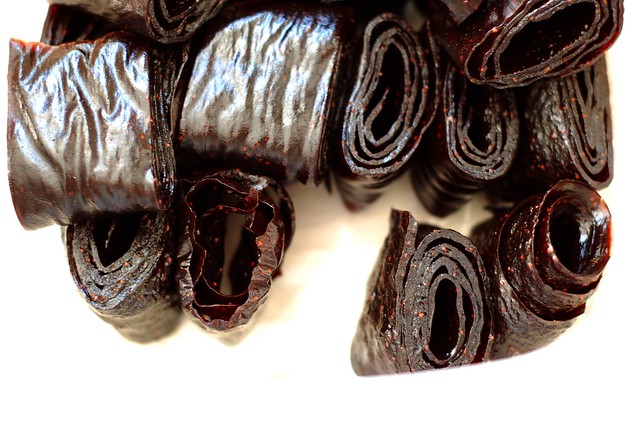
But my favorite way to use up this type of jam is to make fruit leather with it. We made a huge batch of strawberry jam last June that just would not set (probably because we skipped the maceration step altogether due to child-related distraction) so we kept on boiling away and it turned into a dark, thick strawberry jam that none of us wanted to eat on our toast.

But last week, we realized we needed more space for this June's batch of strawberry jam (which turned out quite nicely) so we took all the jars out of the pantry and spread that dark, thick jam out on a couple of Silpats and put them in the food dehydrator. The result was the most delicious strawberry fruit leathers we've ever made!

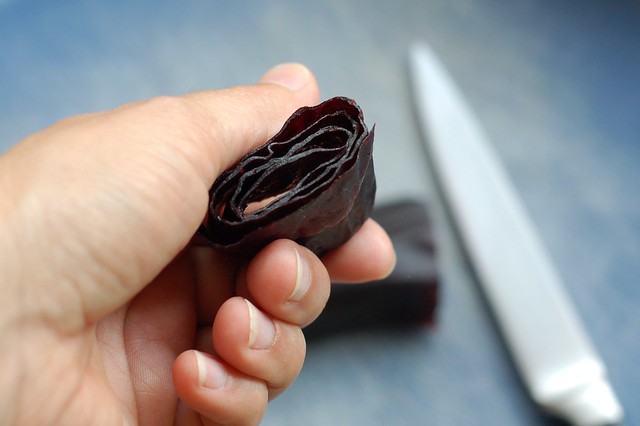
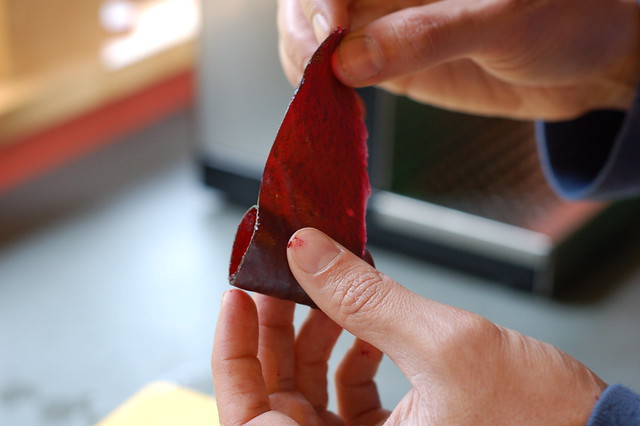
Strawberry jam fruit leathers by Eve Fox, the Garden of Eating, copyright 2016
Got any ideas to share? Use the comments field to share your jam genius.

You might also like:

Jumat, 24 Juni 2016

Cherry Berry Fruit Leathers

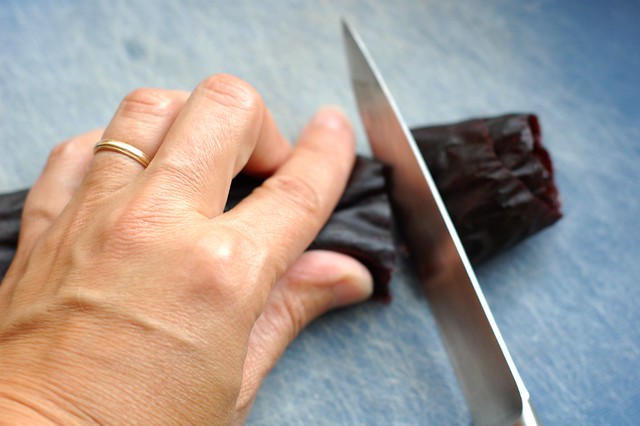
Slicing the first sheet of cherry berry fruit leather by Eve Fox, The Garden of Eating, copyright 2016

We had a strangely snowless winter here in the Hudson Valley. But the tail end caught us by surprise - a late spring storm followed by several days of frigid temps that decimated the cherry crop (and probably some others) hereabouts. So no glorious outing to pick jewel-like fruits from the trees for us this year.

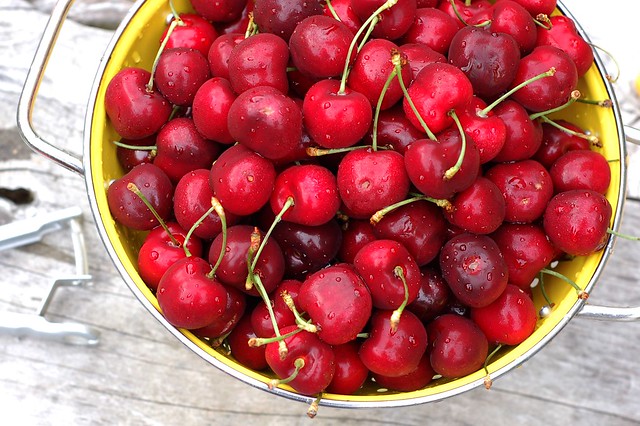
Fortunately, the Washington State Stone Fruit Growers mailed me a case of perfect sweet cherries as part of their Canbassador program earlier this month.

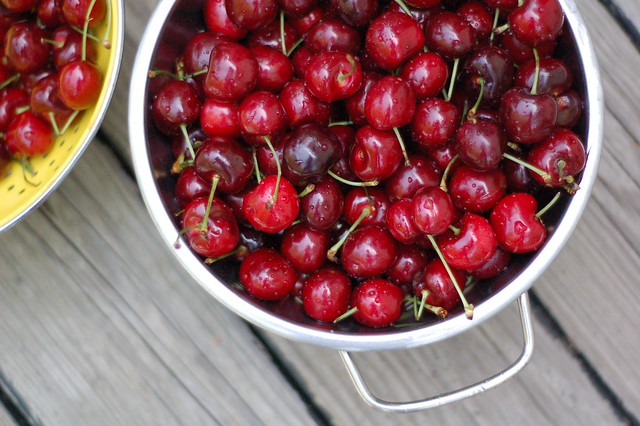
Sweet cherries from WA State Stone Fruit Growers Association by Eve Fox, the Garden of Eating, copyright 2016

Most of them found their way into hungry mouths, leaving little faces stained purple with their sweet juice. But we held enough aside to make a big batch of cherry berry fruit leathers, adding a bag of frozen blueberries to the colorful mix.

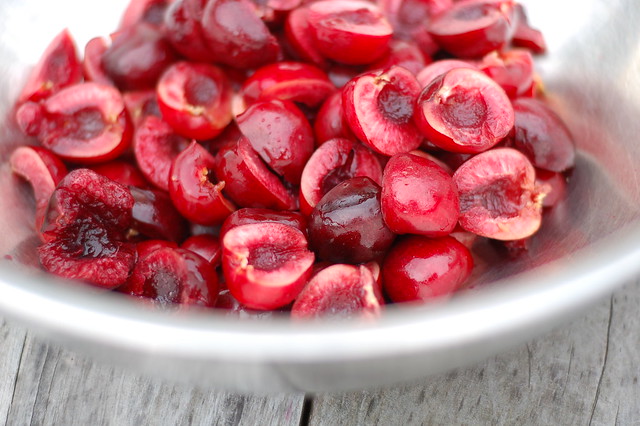
Pitted, sliced cherries by Eve Fox, the Garden of Eating, copyright 2016

Pitting cherries is a messy affair best tackled outdoors unless you want your kitchen to look like a crime scene. It's also way more fun with a crowd to keep the talk and the pits flowing. The only tool you really need is a cherry pitter. They're a good investment if you ever plan to do anything with cherries - I got this simple, metal one for about $10 a few years ago.

Cherry pitting carnage by Eve Fox, Garden of Eating blog, copyright 2011

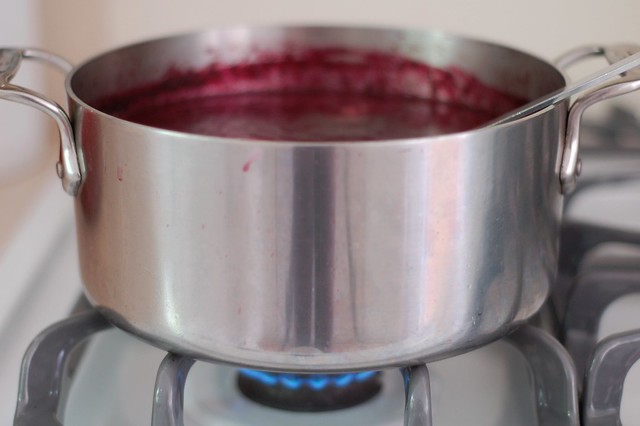
Once you've got those little suckers removed, the rest is fairly easy. Simmer the fruit with a little water until soft and then puree it until smooth, adding a little sugar or not, according to your taste and the natural sweetness of the fruit you're using. Cook the puree on low heat until it's reduced to the consistency of baby food.

Reducing the cherry berry fruit leather mixture before dehydrating by Eve Fox, The Garden of Eating, copyright 2016

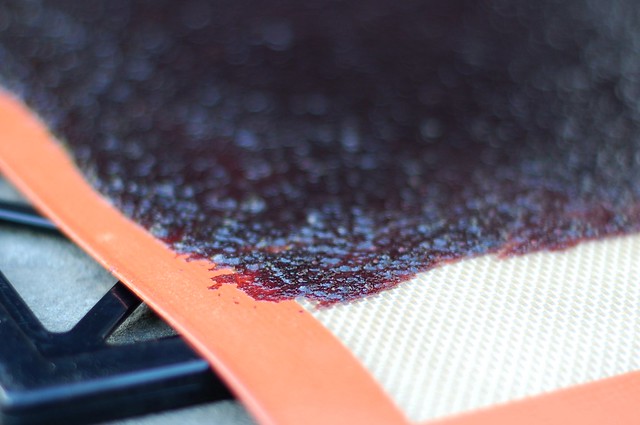
Then spread it onto a sheet of parchment paper or a Silpat and cook it on low heat for a number of hours in either the oven or a food dehydrator until it's only the tiniest bit tacky but still flexible. Our food dehydrator, the excellent Excalibur, allows us to dry foods on a larger scale without heating the house up on hot days but the oven works just fine, too.

Cherry berry fruit leather in the food dehydrator by Eve Fox, The Garden of Eating, copyright 2016

Then you let it sit until it's cool enough to handle, roll it up and slice it into whatever width strips you like.

Slicing the first sheet of cherry berry fruit leather by Eve Fox, The Garden of Eating, copyright 2016

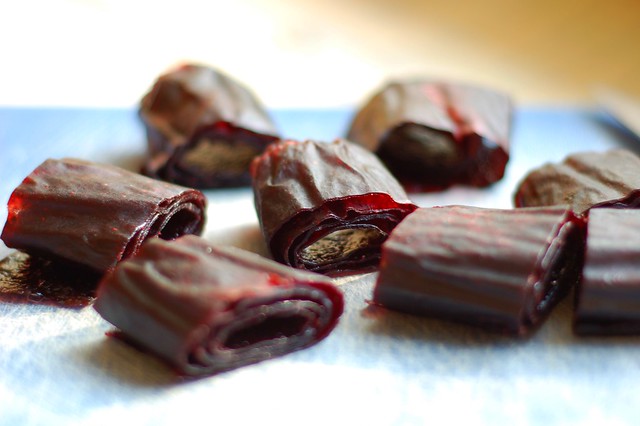
Et voila, delicious, preservative-free fruit leathers! You can store them rolled up in an airtight container at room temperature for about a month (maybe a bit longer during the cold months and a bit shorter during the warm months).

Cherry berry fruit leather by Eve Fox, The Garden of Eating, copyright 2016

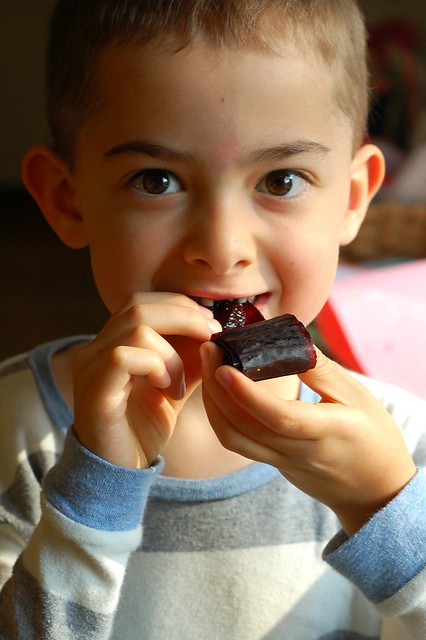
Make a big batch, they go quickly (even if you only have one front tooth)...

Will eating the first cherry berry fruit leather by Eve Fox, The Garden of Eating, copyright 2016

-- print recipe --
Cherry Berry Fruit Leather
Adapted from Put 'em Up!

Ingredients

* 4 cups sweet dark cherries, stemmed and pitted (a cherry pitter will definitely come in handy)
* 2 cups blueberries, rinsed and dried
* A large splash (roughly 1/4 cup) of water
* 1/3 cup sugar (optional)
* You will also need either unbleached parchment paper or a Silpat

Directions
1. Put the cherries, blueberries and water in a medium-sized pot (taller sides are better since you'll be blending in the pot) and bring them to a boil. Simmer until the fruit begins to break down, about 10 minutes. Puree the fruit, using an immersion blender or by pouring it into a blender and then back into the pot again.

2. If you're using the oven, preheat it to 175° F. Line a jelly-roll pan or rimmed baking sheet with unbleached parchment paper or a Silpat and set aside.

3. Add the sugar and continue to simmer the fruit puree over low heat, stirring frequently, until it thickens to the consistency of baby food - this may take 10-15 minutes.

4. Spread the sweetened, thickened puree onto the baking sheet, tilting to create an even layer about 1/4-inch thick. The edges will dry out more quickly so try to leave them a tiny bit thicker.

5. If you're using the oven, bake until just tacky to the touch which can take anywhere from 3-6 hours, depending on how juicy your puree is. If you're using a food deyhdrator, set it to 130° F and cook for between 6-12 hours, testing every hour or so until smooth to the touch with no visibly wet spots.

6. Cool to room temperature. Slide the parchment paper or Silpat onto a cutting board and peel the leather off. Then roll each sheet up and slice it into two- to three inch-wide pieces. Store, rolled up in an airtight container on the counter for up to a month.

You might also like:

Selasa, 15 September 2015

Make Mirepoix and Freeze It for Easy Cooking Later

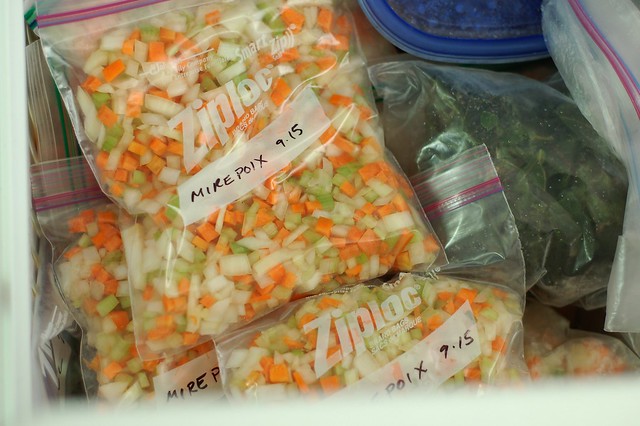
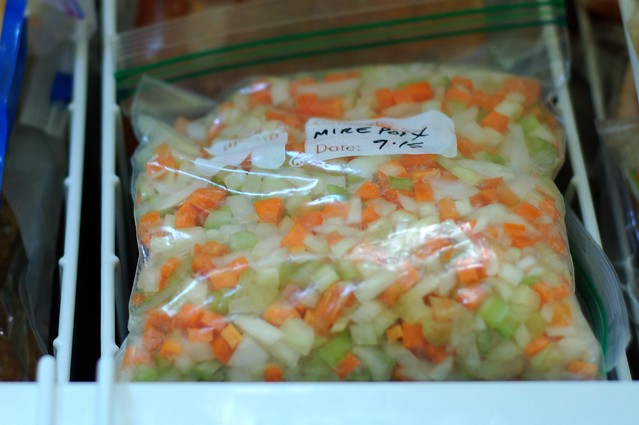
Quart bags of mirepoix in the freezer by Eve Fox, the Garden of Eating, copyright 2015

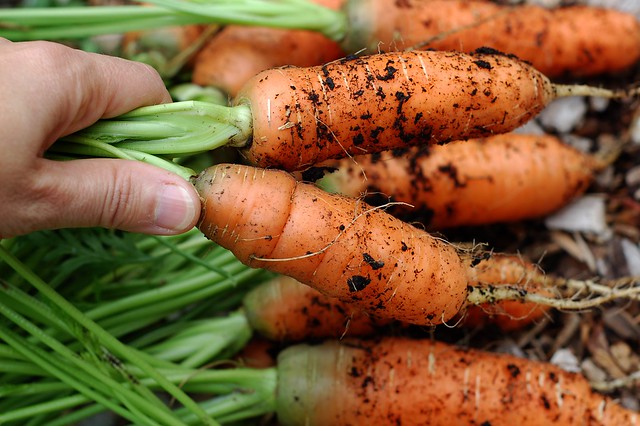
I got this brilliant idea from my friend, Peter over at Cookblog. His instagram pic came at the perfect time -- we'd just harvested the rest of our Nantes carrots, our onions were curing in the screened porch and I had a gorgeous bunch of celery in the crisper from our friends' CSA.

Nantes carrots from the garden by Eve Fox, the Garden of Eating, copyright 2015

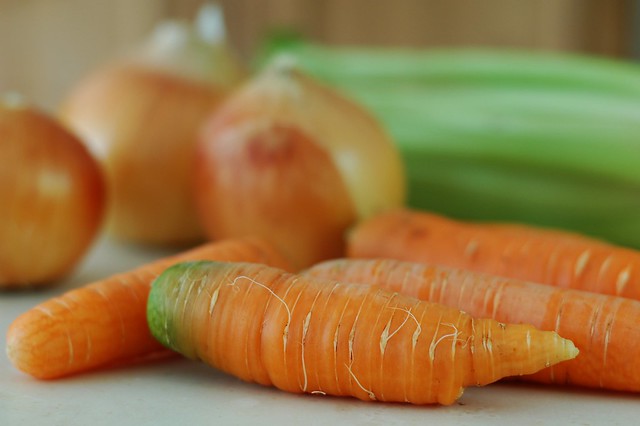
In case you're not familiar with this fancy-sounding, French word - mirepoix refers to the humble but essential mix of chopped celery, onion and carrot that forms the base of many soups, stocks, stews and sauces.

Carrots, onions and celery - the ingredients for mirepoix by Eve Fox, the Garden of Eating, copyright 2015

Needless to say, having your mirepoix all ready to go will speed up the process of making said soups, stocks, stews and sauces by a good bit. SUCH. A. GREAT. IDEA!

Onions, garlic and carrots form the base of this goat ragu with figs and rosemary by Eve Fox, The Garden of Eating, copyright 2014

I started cleaning, peeling and chopping right away. Our homegrown onions are delightful - so firm, so crisp, so sweet! The only downside is that they pack one heck of a punch and I was crying buckets until I decided to try breathing through my mouth -- which actually worked! Unfortunately, I found it surprisingly hard to remember to breathe only through my mouth, so my tear-free periods were punctuated by rivers of saline whenever I'd forget.

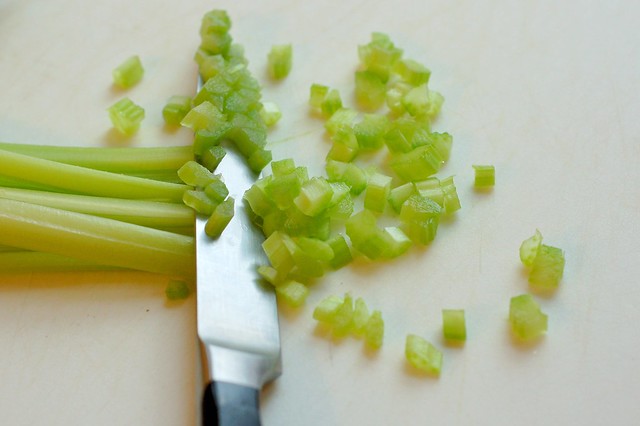
Dicing celery by Eve Fox, Garden of Eating blog, copyright 2012

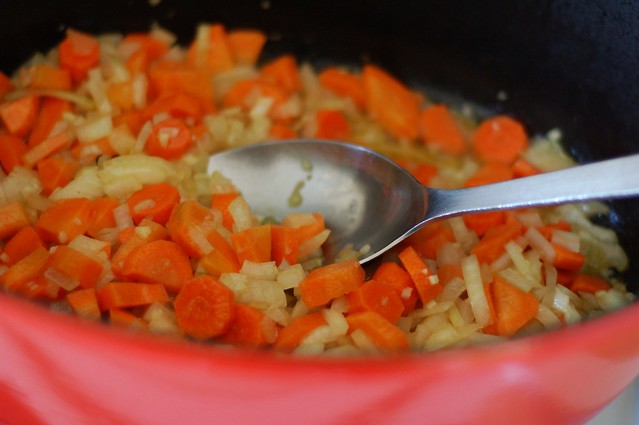
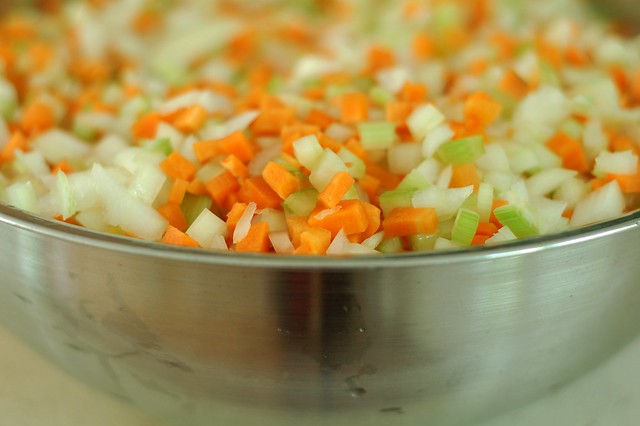
In spite of my tears, in not too long I had a big bowl of mirepoix. If you're not planning to use it right away, you may want to blanch the veggies very briefly, then drain them thoroughly before bagging and freezing them. I admit that I did not bother with that step as I predict that I will be going through my haul rather quickly.

A big bowl of mirepoix, ready to be bagged for the freezer by Eve Fox, the Garden of Eating, copyright 2015

I took out my biggest serving spoon and ladled the mirepoix into six quart-sized freezer bags, sucked the air out with a straw (which is ridiculously satisfying - you gotta try it), labeled them and began the Herculean task of trying to find space for them in the freezer(s). I managed to fit most of them in the chest freezer and squeezed the rest into the regular freezer.

I know I'll be thanking the summer me when the winter me wants to make soup or stew in a few months.

Quart bags of mirepoix in the freezer by Eve Fox, the Garden of Eating, copyright 2015

You might also like:

Senin, 24 Agustus 2015

Nectarine (or Peach) Chutney - Sweet, Spicy & Pickled

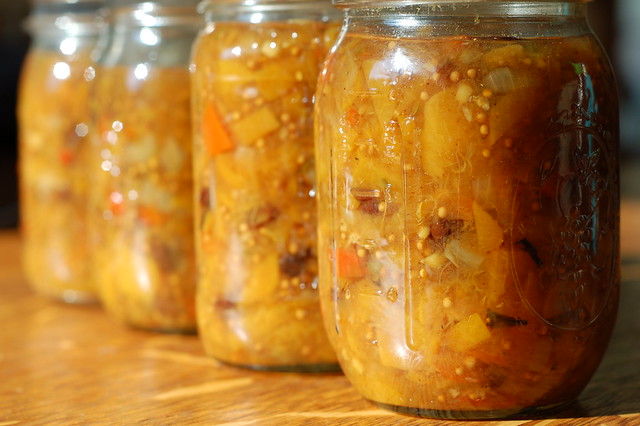
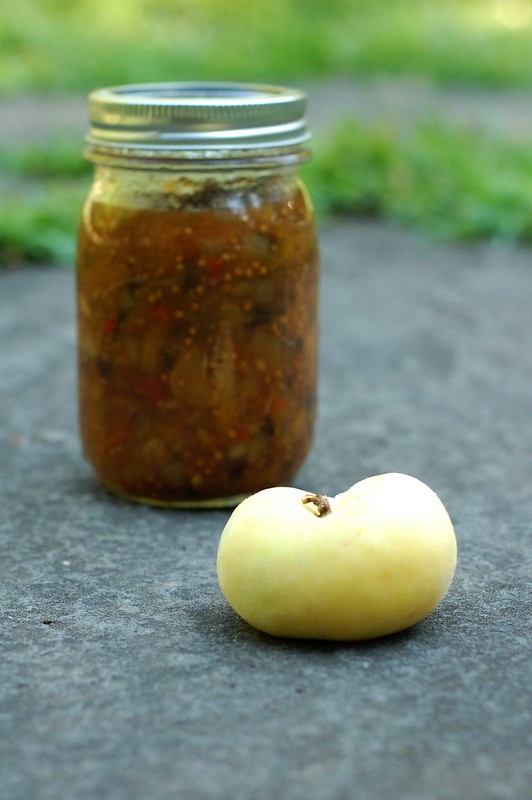
Nectarine chutney with fruit from WA State Stone Fruit Association's Canbassador program using Kevin West's recipe in Saving the Seasons by Eve Fox, The Garden of Eating, copyright 2015

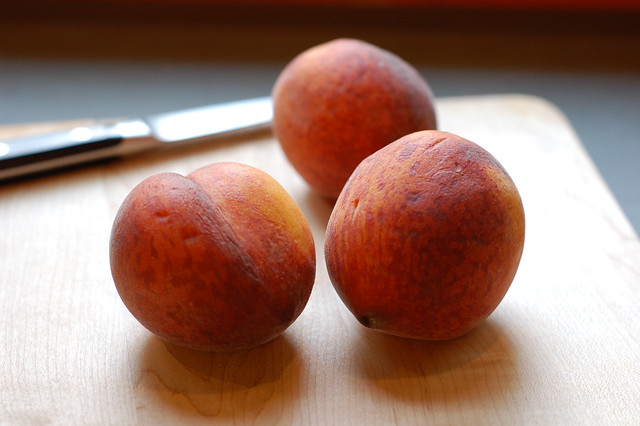
Late last month, we received a case of mighty tasty peaches and nectarines from the Washington State Stone Fruit Association as part of their "Canbassador" program. As a "Canbassador", I agree to can something and write about it and, in turn, they send me cases of fresh fruit to use - a mutually beneficial relationship which kicked off with a case of sweet cherries in June.

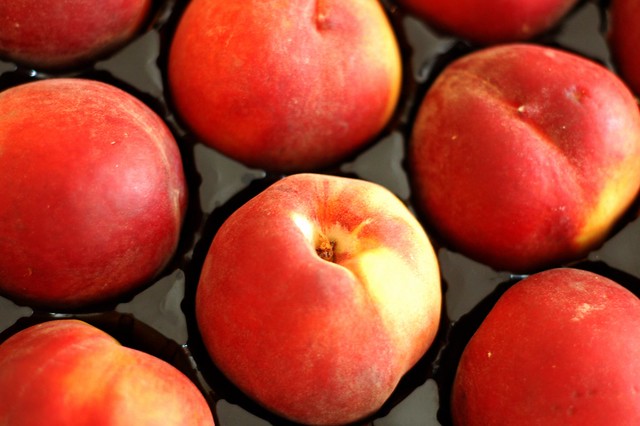
Peaches for chutney by Eve Fox, the Garden of Eating, copyright 2015

We ate quite a lot of them out of hand - in fact, our older son ate so many that I had to threaten to take away his dessert to get him to put the brakes on before he suffered any ill effects. Thus far, the power of dessert is unparalleled when it comes to "reasoning" with our children. Usually, it's the only thing that works...

I also made a delicious peach cobbler with biscuit topping and a delectable, gluten-free peach crisp (just substitute peaches for apples in this recipe) but a case contains rather a lot of fruit and it quickly became apparent that some canning was in order.

The Peaches by Eve Fox, Garden of Eating blog, copyright 2011

Chutney was our go-to choice since we use quite a lot of it in the course of the year. The combination of sweet, spicy and pickled goes so well with curries, fritters, meats and more. We've made loquat chutney, apple rhubarb chutney, sweet cherry chutney and plum chutney - all delicious. But this was our first time using nectarines and the results were very fine.

Nectarine chutney by Eve Fox, the Garden of Eating, copyright 2015

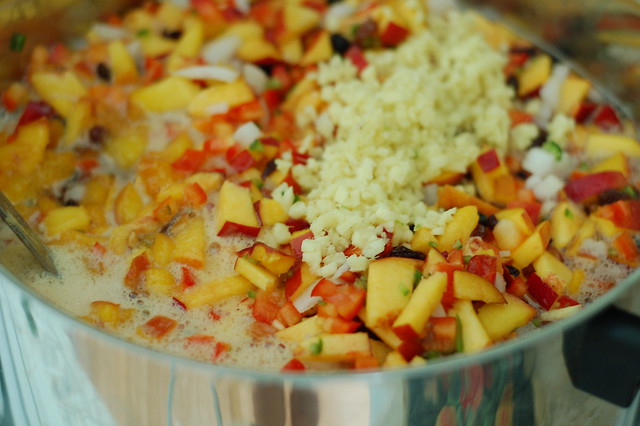
How can you really go wrong with perfect, sweet, ripe nectarines, fresh ginger, garlic, jalapenoes, bell pepper, onion and peppercorns plus plenty of vinegar and sugar to turn it into something that is both zingy and also shelf-stable. This recipe also calls for a few other spices and some Darjeeling tea which struck me as a novel way to add even more flavor.

Nectarine chutney by Eve Fox, the Garden of Eating, copyright 2015

I have to thank my college friend, Lexy who lives in New York and works in publishing for sending me a copy of Kevin West's beautifully written, wonderfully thorough book, Saving the Season: A Cook's Guide to Home Canning, Pickling, and Preserving from which this recipe hails.

Nectarine chutney by Eve Fox, the Garden of Eating, copyright 2015

It's a cookbook that reads more like a memoir and is nicely rooted in place - in his case, Greenvalley, CA where he lived when he wrote it. It's joined the ranks of my favorite canning and preserving cookbooks, along with Food in Jars by Marisa McLellan and Put 'em Up!by Sherri Brooks Vinton.


If you've never canned anything before or just need a little refresher, check out my Canning 101 post before you dive in.

Nectarine chutney with fruit from WA State Stone Fruit Association's Canbassador program using Kevin West's recipe in Saving the Seasons by Eve Fox, The Garden of Eating, copyright 2015

-- print recipe --Nectarine or Peach Chutney
From Kevin West's delightful book, Saving the Season
Makes 4 pints

Ingredients

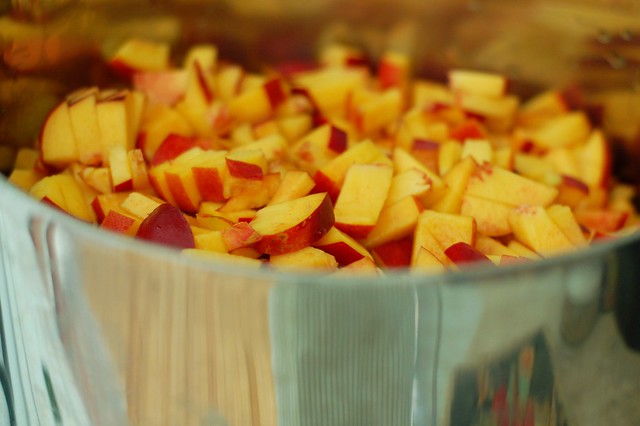
* 5 pounds yellow peaches or nectarines, peeled and cut into 1/2-inch cubes
* 3 cups organic or turbinado sugar
* 2 cups apple-cider vinegar
* 3/4 cup raisins
* 1 cup chopped Vidalia onion
* 1 sweet banana pepper or 1/2 yellow bell pepper, diced
* 2 or 3 fresh green jalapeños, diced, or adjust to taste
* 2 cloves garlic, minced
* 2 tablespoons grated fresh ginger root
* 2 teaspoons freshly grated turmeric, or 1/2 teaspoon ground
* 4 tablespoons mustard seeds
* 1 teaspoon garam masala (a ground spice mixture containing pepper, cloves, cinnamon, cardamom, coriander, nutmeg, cumin, and star anise)
* 2 teaspoons Darjeeling tea (or 4 tea bags)

Directions

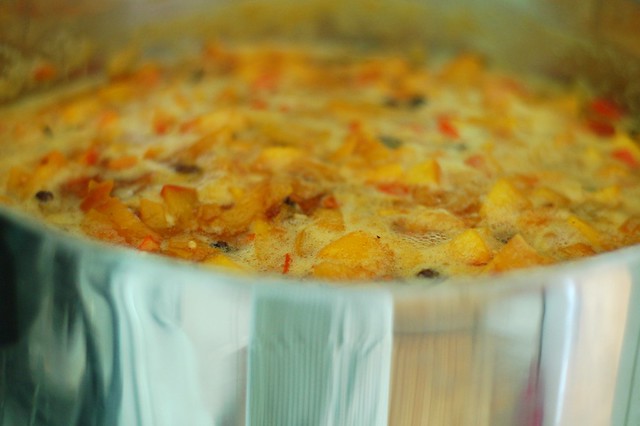
1. Combine all the ingredients in a deep pot and bring to a boil, stirring a few times. Lower the heat to a simmer and reduce the mixture for up to an hour, until all the excess liquid has boiled away and what remains is thick and jammy. Taste it and adjust the seasonings to your liking. I am wimpy about spice so I tend to err on the mild side of things but you may like it hot in which case, you may want to add more chilis.

2. Ladle the hot chutney into four prepared pint jars, leaving 1/4" headspace. Wipe the rims with a damp, clean cloth, top with the jar lids, add the rings and turn until tight but do not overtighten then process in a boiling-water bath for 10 minutes. For best flavor, let the chutney cure for a month before you eat it.

You might also like:


For more delicious recipes, gardening ideas, foraging tips, and food-related inspiration "like" the Garden of Eating on Facebook, or follow me on Twitter and Pinterest.

Senin, 15 Juni 2015

Sweet Cherry & Onion Chutney

Sweet Cherry Chutney by Eve Fox, the Garden of Eating, copyright 2015

It's not yet cherry season here on the east coast although I think we will actually have a season this year which is a nice change from last year when some freaky frosts ruined the cherry crop. But it must be cherry season on the west coast because I received a rather large box of gorgeous sweet cherries in the mail last week as part of Sweet Preservation's "canbassador" program. They provide the fruit, I eat, preserve and write about it. Seems fair, right?

Sweet cherries by Eve Fox, the Garden of Eating, copyright 2015

Naturally, we ate a ton of the cherries -- my little boys looked downright grisly. Thanks to my husband's tireless stem-pulling and pitting efforts and to the wonder that is Excalibur, our valiant food dehydrator (the name never fails to crack me up) we also dried about a quart of cherries and made two trays of delicious cherry fruit leather.

Unrolling the cherry fruit leather by Eve Fox, Garden of Eating blog, copyright 2012

But there were still rather a lot of cherries left after all that so I finished off the case with a small batch of this sweet cherry and onion chutney. The jars are clanking away in their boiling water bath as I type this, in fact.

I've loved chutney's unique mix of sweet and spice ever since I first tried Major Grey's mango as a kid. Soooo good with curries, with meat, with yogurt sauce and more. Ever since it dawned on me that you can actually make your own chutney, I've made loquat chutney, apple rhubarb chutney and plum chutney - all of them delicious.

But this was my maiden voyage with sweet cherry chutney and I am indebted to Marisa McLellan's for her excellent sweet cherry chutney recipe at Food In Jars - one of my favorite sources for canning and preserving recipes and tips. If you like to can, check out Marisa's cookbooks - they're perfect little packages of preserving goodness.

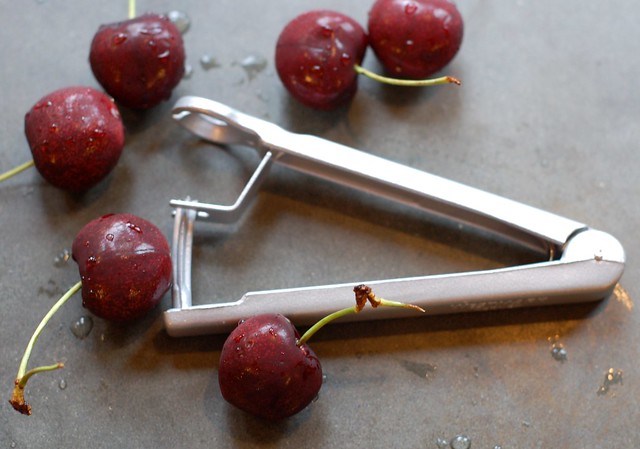
Most of the work is in the pitting, of course. Don't even bother if you don't have a cherry pitter, I say. Luckily, they are cheap.

Cherries get to know the new pitter by Eve Fox, Garden of Eating blog, copyright 2011

We've got this very straight-forward German one made by Westmark that works quite well but I have had covetous thoughts about this OXO cherry pitter that supposedly limits the splattering... It's only $13 so I may splurge at some point, methinks.

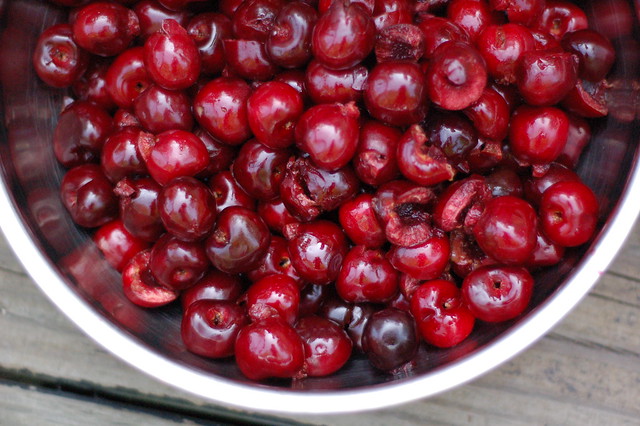
Sweet cherries by Eve Fox, the Garden of Eating, copyright 2015

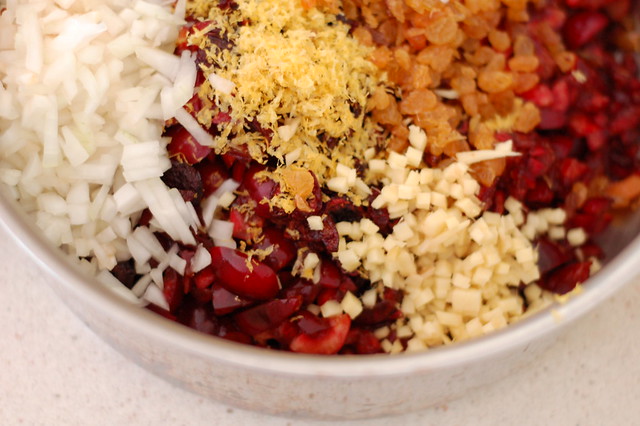
I did the pitting outside - so much easier and more pleasant than cleaning the whole kitchen afterwards. The rest was pretty easy - dice the cherries, dice the onion, peel and grate the ginger, zest and juice two lemons, add cider vinegar, brown sugar, dried fruit, red pepper flakes and mustard seed and a bit of salt.

Adding all the ingredients to the pot for the sweet cherry and onion chutney by Eve Fox, the Garden of Eating, copyright 2015

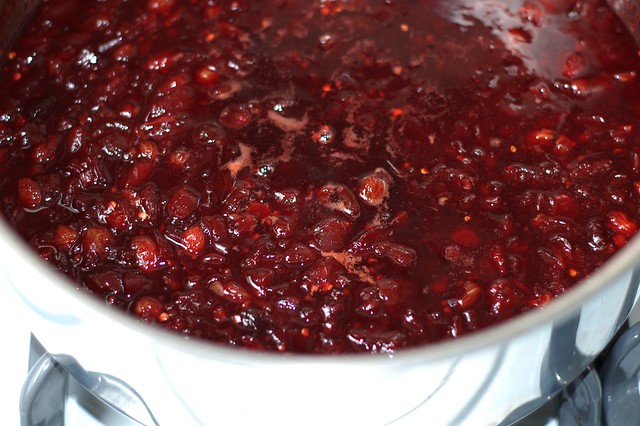
Put it all in a pot and cook it down for about an hour. Then can it - don't worry, there are many more details about how to go about that in the recipe below.

Sweet cherry and onion chutney cooking by Eve Fox, the Garden of Eating, copyright 2015

Boom! You've got five pints of this pretty, spiced chutney on your shelf for the next time you make curried chickpeas or roast a leg of lamb. It's the perfect foil for something savory and spiced, especially when accompanied by a creamy, cooling cucumber yogurt sauce. If you're new to canning, check out my short tutorial here to get started.
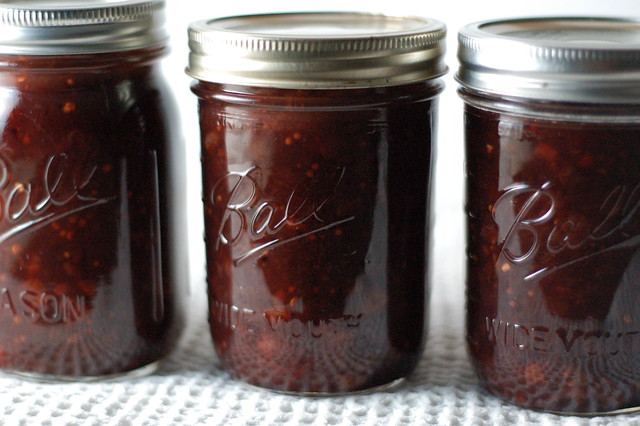
Sweet Cherry Chutney by Eve Fox, the Garden of Eating, copyright 2015

-- print recipe --Sweet Cherry & Onion Chutney
Makes 5 pints or 10 half-pints

Ingredients

* 4 pounds sweet cherries, pitted and diced
* 2 cups minced yellow onion (about 1 large)
* 2 1/2 cups brown sugar
* 2 cups apple cider vinegar
* 1 cup dried sweet cherries or dried cranberries
* 1 cup golden raisins
* 2 lemons, zested and juiced
* 3 Tbsps minced or grated fresh ginger (peeled, of course)
* 2 Tbsps mustard seed
* 2 tsps red pepper flakes
* 2 tsps sea salt

Directions

1. Place all the ingredients in a large pot and cook over medium heat until boiling, then turn the heat way down and simmer, stirring often, until the mixture has reached a thick consistency - about one hour.

2. When the chutney is about 10 minutes away from done, bring a large canning pot of water to a boil and sterilize the 5 pint jars (or 10 half-pint jars or whatever mix of half-pint and full pint jars you want to use to equal 5 pints.)

3. Once the chutney is at the desired consistency, turn the heat off. Drain and remove the sterilized jars from the hot water and set them on a clean dish towel next to the pot of chutney. Using a canning funnel, ladle the hot chutney into the jars, leaving half an inch of head room in the jars. Wipe the jar rims with a clean, damp cloth then drop the sterilized lids on top, add the bands and tighten only until you feel that the lids are secure.

4. Then use your jar lifter to place the filled jars back in the canning pot and process in a boiling water bath for 15 minutes. Turn the heat off after 15 minutes and use your jar lifter to remove the jars to the towel to let them cool in a draft-free spot. As they cool, you should hear that wonderful little popping noise as the lids suck down to create a good, stong seal. Label the jars (trust me, your memory may not be as good as you think it will be...) and store them without the bands in a cool, dark place for up to a year.

You might also like:
For more delicious recipes, gardening ideas, foraging tips, and food-related inspiration "like" the Garden of Eating on Facebook, or follow me on Twitter and Pinterest.