Tampilkan postingan dengan label chickpea recipes. Tampilkan semua postingan

Senin, 20 Juni 2016

Roasted Beet Hummus - Pretty In Pink

Roasted beet hummus with crudites by Eve Fox, the Garden of Eating, copyright 2016

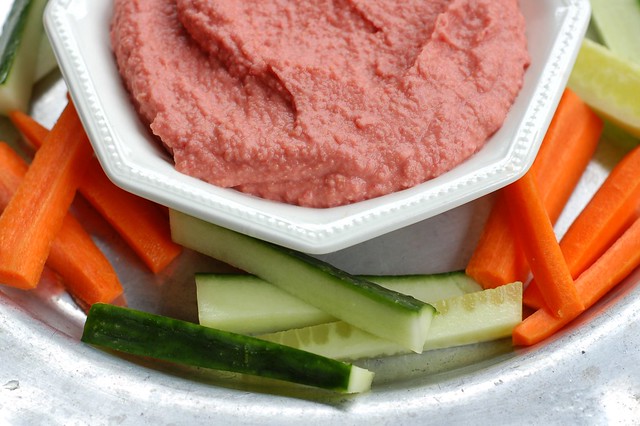
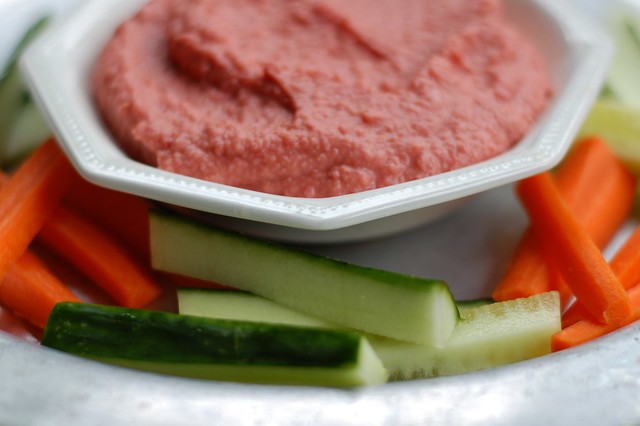
This hummus has got a lot going for it from its pretty color to the way the lemon and garlic provide a perfect foil for the sweet, earthy flavor of the roasted beets and the nuttiness of the chickpeas to the added folate, vitamin C, fiber, manganese and potassium the beets add to the protein-packed hummus.

Add some cut up veggies and a pita and you have a hearty, filling, super healthy meal. Or make this hummus as part of a mezze-style spread and invite friends over for dinner.

Chickpeas draining in colander in sink by Eve Fox, Garden of Eating blog copyright 2011

I got the idea from some store-bought roasted beet hummus that I tried at a friend's house. I had to be practically pulled away from the hors d'oeuvres table, cracker still in hand, happily spoiling the lovely meal she had prepared for us.

First beets of the season by Eve Fox, the Garden of Eating, copyright 2015

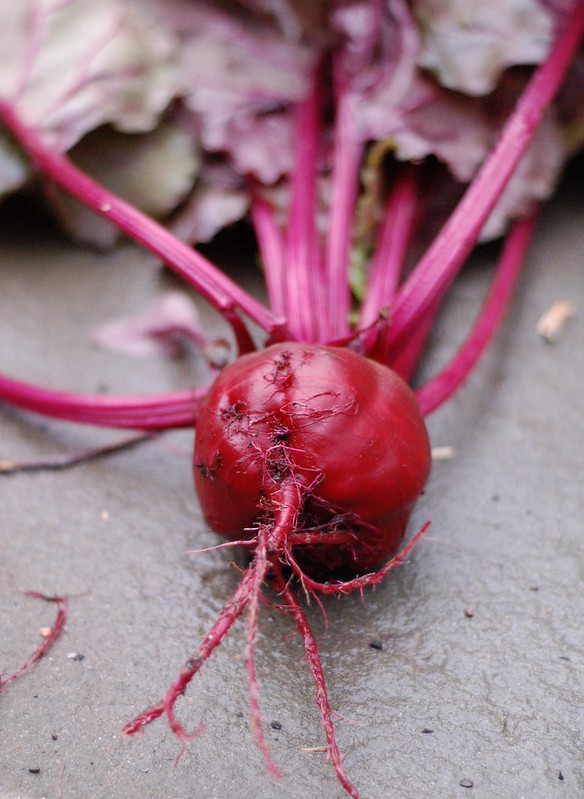
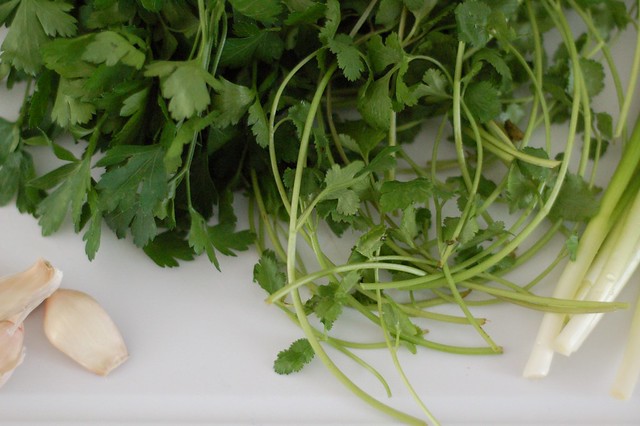
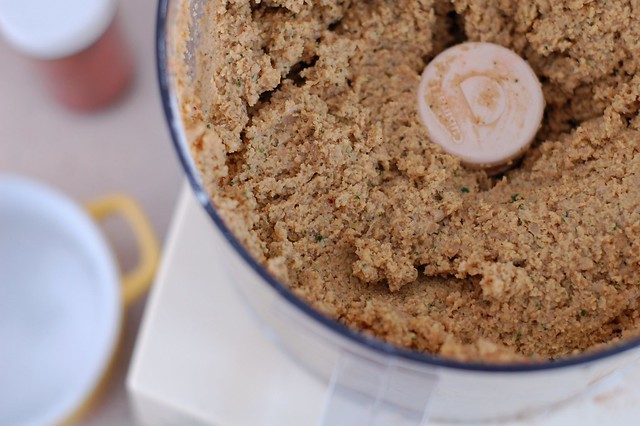
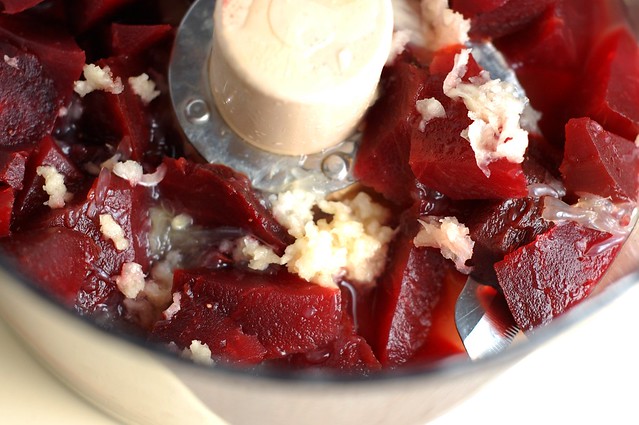
It's easy to make, too, especially if you happen to have a roasted beet lying around. Sadly, I did not have any roasted beets in the fridge so I went out and bought some since the ones in our garden are not ready to harvest just yet. Then I roasted 'em but good, slipped the skins off, cut them up and tossed them into the Cuisinart with a bunch of garlic.

Ingredients for roasted beet hummus in the Cuisinart by Eve Fox, the Garden of Eating, copyright 2016

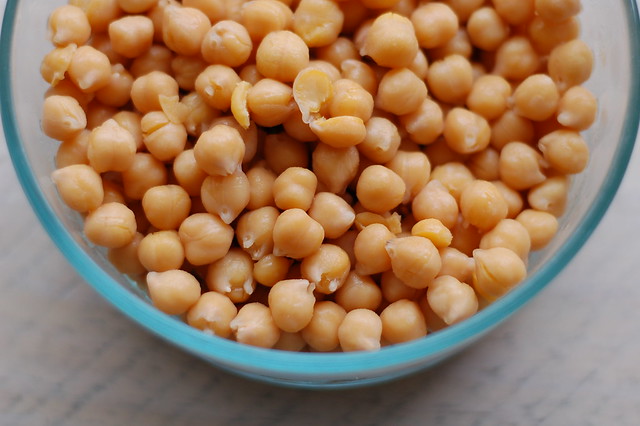
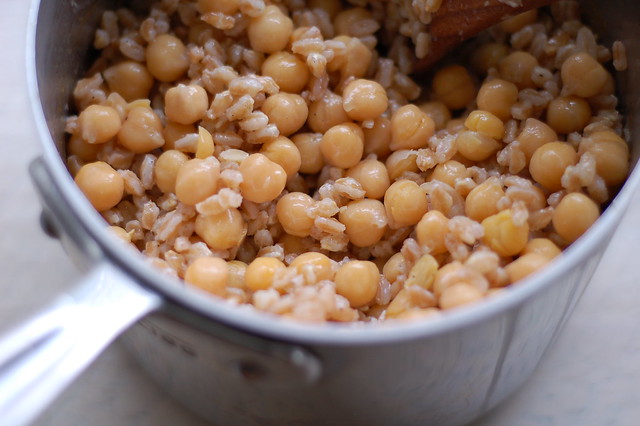
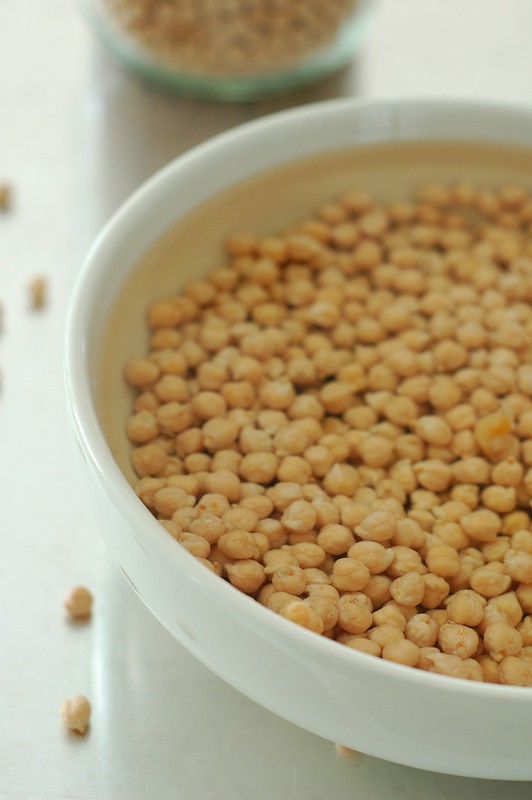
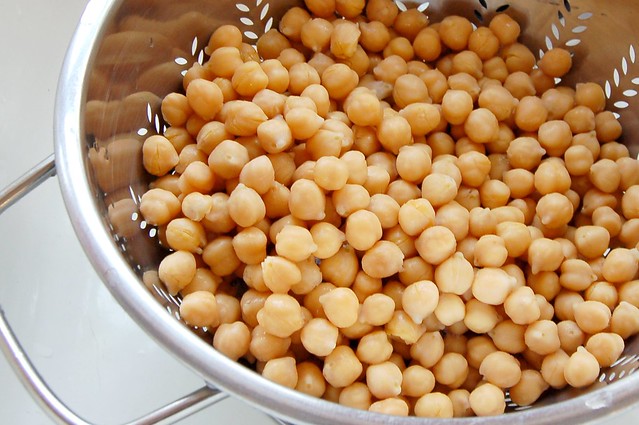
I've also become a bit of a chickpea snob so I soaked a couple cups of dried garbanzos over night (so I would have enough leftover beans to freeze - makes it so easy later on) and made the hummus after cooking the beans the next day. But there is NO SHAME IN USING A CAN OF CHICKPEAS. Just make sure to get the kind in the BPA-free cans if you go that route.

Chickpeas and tahini in the Cuisinart by Eve Fox, the Garden of Eating, copyright 2016

The cooked chickpeas joined the beets and garlic in the Cuisinart along with some tahini paste, salt and lemon juice. A little blitzing and this lovely, smooth, salmon-colored hummus was ready to eat.

The recipe below is flexible so you should feel free to adapt it to your liking - if you love garlic, add more. If you like the beet flavor, add more. If tahini is your thing, go crazy. It's just hummus, we're not baking anything.

Roasted Beet Hummus by Eve Fox, the Garden of Eating, copyright 2016

-- print recipe --
Roasted Beet Hummus
Serves 4-6

Ingredients

* 1 large or 2 small beets, scrubbed with greens and tops removed
* 1 3/4 cups cooked chickpeas or 1 15 oz can, mostly drained
* Juice of 1 large lemon
* 2 large cloves garlic, pressed
* 2-3 Tbsps tahini paste
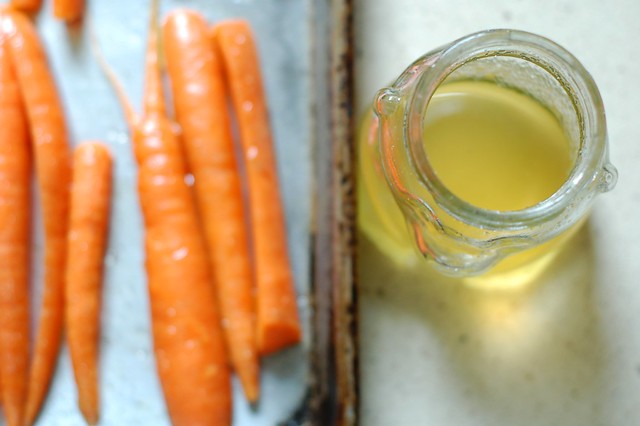
* 1/4 cup extra virgin olive oil
* Sea salt and freshly ground black pepper to taste

Directions

1. Begin by roasting the beets. Preheat the oven to 450°F. Place the scrubbed, trimmed beets in a generous pouch of tinfoil, drizzle them with olive oil and fold the foil over them to form a neat, enclosed little package. Place the package on a baking sheet (preferably one you do not care overmuch about as it may end up getting some charred beet juice baked on to it), place it on the rack and bake for roughly 60 minutes, until the beets are tender when poked with a fork. When they're done, remove them from the oven and allow them to cool, then slip the skins off with your fingers or a knife and slice them into quarters.

2. Place the beets in the bowl of the food processor and add all the remaining ingredients except the olive oil. Blend until smooth, drizzling the olive oil in as you go.

3. Taste and adjust the seasonings as needed adding more lemon juice, salt, tahini or garlic according to your likes. If it feels too thick, add a bit more oil and a little water and blend until fully combined. Store in an airtight container in the fridge for up to a week.

You might also like:
Cumin-Scented Quinoa with Grated Beets & Curried Chickpeas
Spicy Sweet Moroccan-Inspired Chickpea Spread with Blood Orange & Chipotles
Hummus with Caramelized Onions & Garlic Topped With Beets, Pine Nuts & Greek Yogurt

Senin, 09 Mei 2016

Nutty Farro and Chickpeas Topped with Honey Roasted Carrots and Herb-Spiked Crème Fraîche

Honey-roasted carrots with herby creme fraiche over garlicky farro & chickpeas by Eve Fox, the Garden of Eating, copyright 2016

This dish is so unexpected and tasty. Carrots roasted with honey and a sprinkle of sea salt, black pepper and dried cumin are served atop a jumbled bed of farro and chickpeas that have been tossed in a very simple garlic, olive oil and lemon juice dressing all of which is drizzled with a rich, tangy, cilantro and mint-spiked crème fraîche that ties all the flavors together and a sprinkle of salty, roasted pepitas.

Carrots drizzled with honey, olive oil, salt, pepper and cumin powder by Eve Fox, the Garden of Eating, copyright 2016

The recipe below is adapted from the original on Cookie + Kate, a lovely blog that is new to me. I have to thank my friend Kathleen for mentioning this dish while we were watching our sons' karate class last week.

Dried chickpeas cooked with garlic and bay leaf by Eve Fox, the Garden of Eating, copyright 2016

I used dried garbanzo beans but you can use canned, too - no judgment here! If you do want to use dried beans, my recommendation is to make a much larger batch than you need and freeze whatever extra beans you have after draining them and letting them cool down. I like having a container or two of chickpeas in the freezer ready to toss into a curry - no soaking and no cooking necessary.

Farro by Eve Fox, the Garden of Eating, copyright 2016

Farro has a pleasantly chewy texture and a mild, nutty flavor. It's a member of the wheat family and although it does contain gluten, I believe it is often easier for people with sensitivities to tolerate than wheat (no promises, though!) There are several kinds available - whole, semi-pearled and pearled. The whole kind is the healthiest and takes a lot longer to cook than the other two options which contain less or none of the bran and, therefore, cook more quickly and are not quite as nutritious. I have never actually seen the whole kind for sale in a store - it's probably easier to find in a major metropolitan area although you can also buy it online, of course.

Mixing the farro and chickpeas with garlic, olive oil, lemon juice and salt by Eve Fox, the Garden of Eating, copyright 2016

Once the farro is done, you mix it and the chickpeas together with some olive oil, a little garlic, lemon juice, salt and pepper and set it aside while you finish the rest of the dish. You can make this the day before if you like - it will taste even better for having more time for the flavors to develop.

Meanwhile, your carrots should be done about now - delightfully shriveled and browned and caramelized.

Carrots roasted with honey, olive oil, salt, pepper and cumin powder by Eve Fox, the Garden of Eating, copyright 2016

Feel free to play around with the herbs for the crème fraîche - I liked the idea of cilantro and mint as a nice pairing for the cumin in the roasted carrots but you can use parsley or dill or basil, too. If you're new to crème fraîche - it is similar to sour cream, albeit with a higher fat content (30% vs 20%). You can definitely taste that extra 10% butterfat - it's got a creaminess that feels a little decadent.

Fresh mint and cilantro by Eve Fox, the Garden of Eating, copyright 2016

Stir the herbs into the crème fraîche along with some salt and pepper and a little water to thin it to a "drizzle-able" consistency. The resulting sauce lends the whole dish a lovely, rich, tang that is brightened by the herbs.

Chopped cilantro and mint with sea salt, pepper and creme fraiche by Eve Fox, the Garden of Eating, copyright 2016

This is one of those dishes that is a lot of fun to plate. Make a base of your grain and bean mixture then lay the carrots on top of it, drizzle with the crème fraîche sauce and sprinkle with pepitas or toasted pinenuts.

Honey-roasted carrots with herby creme fraiche over garlicky farro & chickpeas by Eve Fox, the Garden of Eating, copyright 2016

-- print recipe --
Garlicky Farro & Chickpeas Topped with Honey Roasted Carrots & Herb-Spiked Crème Fraîche
Serves 6

Ingredients

For the beans and grains
* 1 cup dried farro, rinsed
* 1 1/2 cups or 1 can cooked chickpeas, drained and rinsed (if you use canned, Eden Organics sells their beans in a BPA-free can)
* 1 tsp good olive oil
* 1 tsp fresh lemon juice
* 1 clove garlic, pressed or minced
* ½ tsp sea salt

For the carrots
* 1 lb small carrots, scrubbed or peeled with the tops cut off
* 1 Tbsp good olive oil
* Drizzle of honey (buy local if you can)
* Sprinkle of ground cumin powder
* Sea salt
* Several grinds black pepper

For the crème fraîche
* 1/2 cup crème fraîche (try to find organic if you can)
* 1 Tbsp chopped, fresh cilantro
* 1 Tbsp chopped, fresh mint
* 2 tsps water to thin
* Sea salt and freshly ground pepper to taste

For the pepitas
* 3 Tbsps pepitas (I used tamari roasted pepitas from the store but if they're not available, add the rest of the ingredients and toast in a pan)
* 1/2 tsp good olive oil
* Pinch each of ground cumin powder, sea salt and chili powder

Directions

1. Start by making the farro and chickpea mixture. Add the rinsed farro and three cups of water to a smallish pot and bring to a boil, then turn the flame down and simmer until the farro is tender but still chewy. This will take roughly 15 minutes if you're using the pearled kind of farro and 25-30 minutes or more if you're using whole farro - check the package on whatever kind you use for a more precise estimate. When it's done, drain the farro and return it to the pot along with the olive oil, lemon juice, garlic and salt. Stir well and then add the chickpeas and stir again to combine it all. Cover and set aside until you're ready to assemble the dish. You can make this a day ahead of time and store in the fridge if you like.

2. Preheat the oven to 425° F. Toss the carrots with the olive oil, cumin, salt and pepper on a large baking sheet and arrange in a single layer. Drizzle with honey and roast for 20-25 minutes (time depends somewhat on how large the carrots you're using are), until tender with plenty of browning, then remove and let cool.

3. In a small bowl, combine the crème fraîche, chopped herbs, sea salt, pepper and water and stir to combine. Set aside until you're ready to plate. It's also fine to make this sauce up to a day ahead of time to give the flavors more time to meld.

4. If you're not using already roasted pepitas, heat the olive oil in a small skillet over a medium flame until it shimmers. Add the pepitas and spices and cook, stirring frequently until the pepitas begin to brown a bit and start to make little sizzling, popping noises. Remove from the pan to let them cool to prevent them from burning.

5. You can either plate this dish individually or assemble it on a large platter. Arrange the chickpea and farro mixture on the bottom and lay the carrots over it, drizzle with the herbed crème fraîche, sprinkle with the pepitas and serve.

You might also like:


Senin, 09 Maret 2015

Fantastic Falafel a.k.a. Fried Balls of Garbanzo Goodness

Homemade falafel with all the fixings by Eve Fox, The Garden of Eating, copyright 2015

For some reason, I've had failure after failure with boxed falafel mixes. I follow the instructions to the letter but when it comes time to fry or bake the falafel falls apart and I'm left with a crumbly, oily mess that no one can eat. It's mysterious. And embarrassing, especially when I've invited people over - "Come for falafel! ...I mean pizza."

But falafel is such good stuff - tasty, filling, packed with protein and downright good for you - that I decided to try making my own using dried chickpeas. It sounds hard but isn't. And it held together beautifully and my kids actually deigned to eat it which is nothing short of a miracle these days unless I've slaved over a pot of Annie's mac n' cheese (the orange cheddar kind with the mini-shell pastas, to be precise.)

Making falafel from scratch sounds way more intimidating than it actually is. The biggest hurdle is just remembering to soak the chickpeas the night before.

Soaking the chickpeas for falafel by Eve Fox, the Garden of Eating, copyright 2015

I'm making an effort to move away from using canned beans of late. Dried beans have so much going for them - they taste better, they're healthier because there's no can to leach chemicals into the beans, they're easier on the environment, and they're cheaper to boot. But I still use canned beans sometimes and you can certainly use them to make this delicious falafel without any judgment from me. If you do use canned garbanzos, I suggest Eden Organics because I think they are the only company whose cans are BPA-free at this point, regardless of their internal politics.

A few hours before you want to eat the falafel, drain the chickpeas and add the flavorings of your choice to the bowl of your food processor. I used fresh cilantro, scallions, parsley, dried cumin, smoked paprika and garlic -- num-num, as my niece Lila used to say.

Cilantro, parsley, garlic & scallions for the falafel mix by Eve Fox, the Garden of Eating, copyright 2015

Pulse until it is well-blended but not totally pureed.

Mixing the falafel batter in the Cuisinart by Eve Fox, the Garden of Eating, copyright 2015

Then put in a bowl, cover and refrigerate for a few hours.

Homemade falafel batter waiting to be formed into patties by Eve Fox, the Garden of Eating, copyright 2015

Then it's time to shape yer falafels. You can either form little balls or make them slightly larger and smoosh them down to make patties.

Forming the falafel patties by Eve Fox, the Garden of Eating, copyright 2015

I fried these in grapeseed oil - my new favorite frying oil for it's mild taste and high smoke point. I also love using peanut oil but it's hard to find here in the hinterlands. Make sure you have enough oil and that you get it hot enough (but not smoking - that's too hot!) to fry them quickly, otherwise they soak up the oil instead of frying and you'll end up with soggy, greasy falafels.

Frying the homemade falafel patties in grapeseed oil by Eve Fox, the Garden of Eating, copyright 2015

Flip them once and once they're nicely browned all over, drain them on a paper grocery bag - they're so superior to paper towels because they're thicker and it just takes one of them instead of using up half a roll of paper towels. I toss the greasy bag in my woodstove when I'm finished with it.

Homemade falafel patties from scratch by Eve Fox, the Garden of Eating, copyright 2015

Then serve warm with the toppings of your choice. My toppings were inspired by a great falafel place called Chick-O-Pea's that opened all too briefly in our old neighborhood in North Berkeley. They offered a dizzyingly delicious selection of fixings including a ton of tasty pickled veggies and sauces.

Cucumber yogurt herb sauce aka tzatziki or raita by Eve Fox, the Garden of Eating, copyright 2015

I served my falafel with shredded cabbage, chopped tomatoes, my favorite pickled beets, some quick pickled onions, cucumber and herb raita, a brilliantly green chimichurri, and a creamy, garlicky tahini yogurt sauce. If you make any of these sauces, try to make them a day ahead or first thing in the morning as they get better with age.

Truly, a feast for all of the senses as it was also beautiful and smelled divine. And vegan to boot. These can also be gluten-free - just substitute a gluten-free flour for the wheat flour in the recipe. I'm not an expert on gluten-free flours but have used Bob's Red Mill flour with good results in the past.

Homemade falafel with all the fixings by Eve Fox, The Garden of Eating, copyright 2015

Thanks to Kalyn for pointing me to several recipes and happy Meatless Monday to you all.

-- print recipe --Fantastic Falafel
Serves 4 - makes about 20 balls or 12 patties

Ingredients

* 1 cup dried chickpeas or 1 15-16 oz can of chickpeas, drained
* 5 scallions or 1/2 large onion, chopped
* 4 Tbsps chopped fresh parsley
* 4 Tbsps chopped fresh cilantro
* 4 cloves of garlic, minced or pressed (if they're huge, just use 2 or 3 cloves)
* 1 Tbsp dried cumin
* 1 tsp smoked paprika
* 1 tsp sea salt
* 1 tsp freshly ground black pepper
* 1 tsp baking powder
* 4-6 Tbsps flour (or more, if needed)
* A lot of grapeseed or peanut oil for frying

Directions

1. Put the chickpeas in a large bowl and add enough cold water to cover them by at least 2 inches. Soak overnight and then drain. If you prefer to use canned chickpeas, simply drain them.

2. Place the chickpeas, scallion or onion, garlic, herbs and spices in the bowl of your food processor and blend until well-blended but not pureed. Then sprinkle the baking powder and flour over the mixture and pulse. The goal is to add just enough flour to enable you to form some of this dough/batter into a small ball without it sticking. If you need to add a little bit more flour to achieve that consistency, that's fine.

3. Transfer the dough into a bowl, cover and refrigerate for a few hours. When it's time to get cooking, form the mixture into little walnut-sized balls or make them slightly larger and flatten them into little discs.

4. Pour a good amount of oil (you want to shoot for 2 inches or more) in a cast iron skillet or a heavy-bottomed pot or pan Heat 3 inches of oil to 375 degrees in a deep pot or wok and fry 1 ball to test. If it falls apart, add a little flour. Then fry about 6 balls at once for a few minutes on each side, or until golden brown. Drain on paper towels. Serve in pita or on lettuce with your choice of sauces, pickles and fresh veggies.

You might also like:
For more delicious recipes, gardening ideas, foraging tips, and food-related inspiration "like" the Garden of Eating on Facebook, or follow me on Twitter and Pinterest.