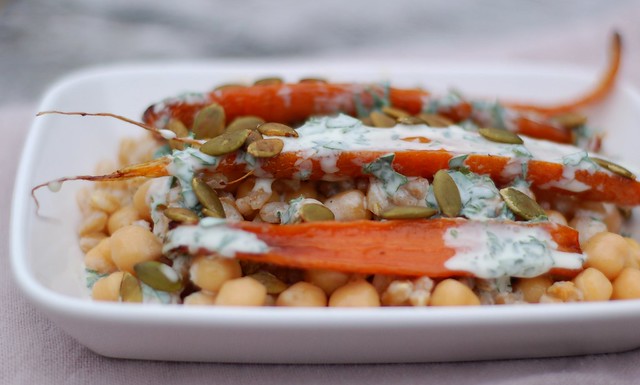
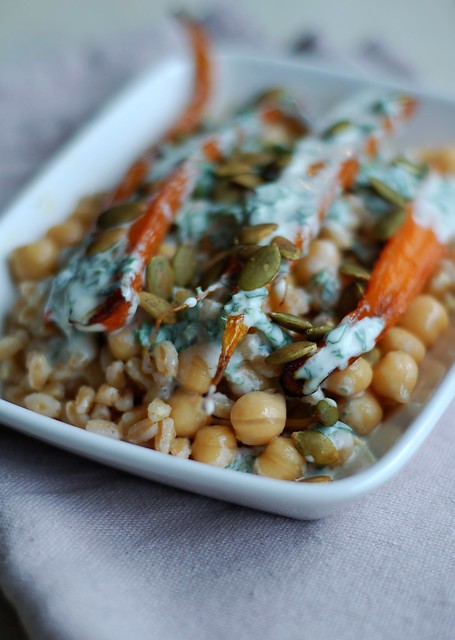
This dish is so unexpected and tasty. Carrots roasted with honey and a sprinkle of sea salt, black pepper and dried cumin are served atop a jumbled bed of farro and chickpeas that have been tossed in a very simple garlic, olive oil and lemon juice dressing all of which is drizzled with a rich, tangy, cilantro and mint-spiked crème fraîche that ties all the flavors together and a sprinkle of salty, roasted pepitas.
The recipe below is adapted from the original on Cookie + Kate, a lovely blog that is new to me. I have to thank my friend Kathleen for mentioning this dish while we were watching our sons' karate class last week.
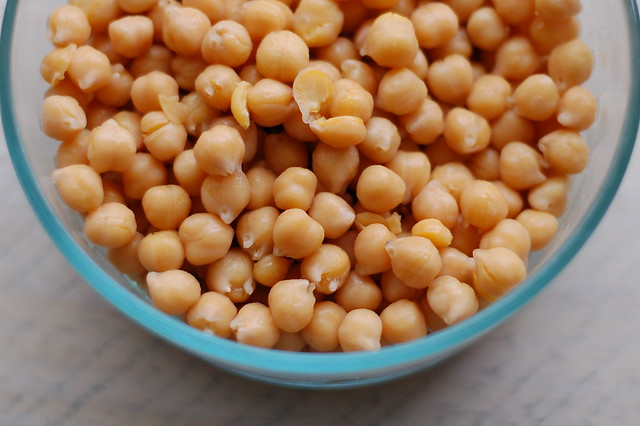
I used dried garbanzo beans but you can use canned, too - no judgment here! If you do want to use dried beans, my recommendation is to make a much larger batch than you need and freeze whatever extra beans you have after draining them and letting them cool down. I like having a container or two of chickpeas in the freezer ready to toss into a curry - no soaking and no cooking necessary.
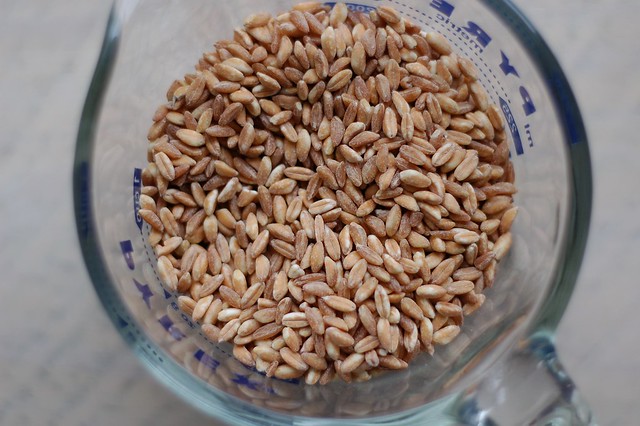
Farro has a pleasantly chewy texture and a mild, nutty flavor. It's a member of the wheat family and although it does contain gluten, I believe it is often easier for people with sensitivities to tolerate than wheat (no promises, though!) There are several kinds available - whole, semi-pearled and pearled. The whole kind is the healthiest and takes a lot longer to cook than the other two options which contain less or none of the bran and, therefore, cook more quickly and are not quite as nutritious. I have never actually seen the whole kind for sale in a store - it's probably easier to find in a major metropolitan area although you can also buy it online, of course.
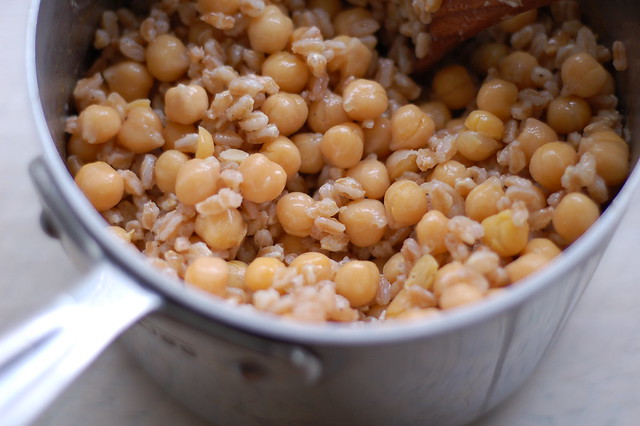
Once the farro is done, you mix it and the chickpeas together with some olive oil, a little garlic, lemon juice, salt and pepper and set it aside while you finish the rest of the dish. You can make this the day before if you like - it will taste even better for having more time for the flavors to develop.
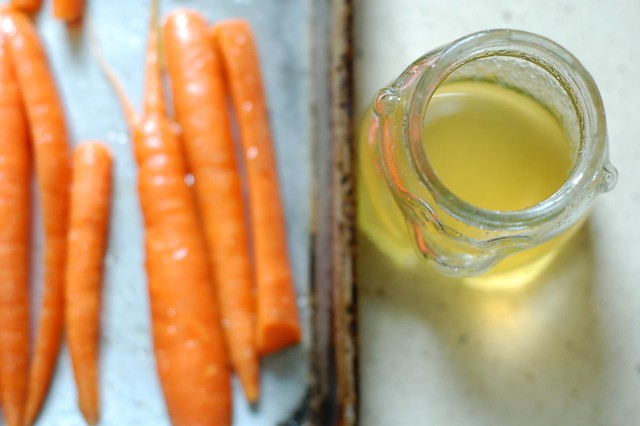
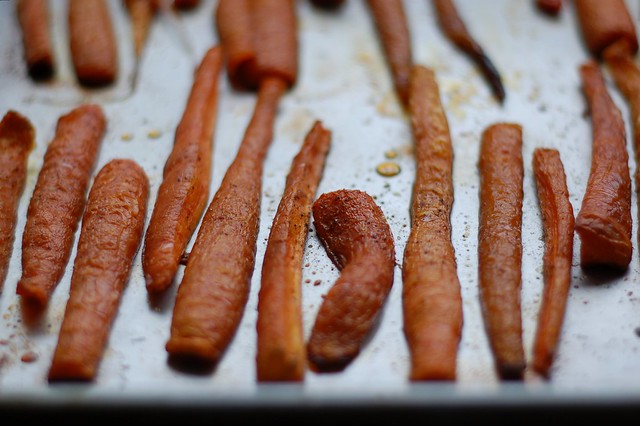
Meanwhile, your carrots should be done about now - delightfully shriveled and browned and caramelized.
Feel free to play around with the herbs for the crème fraîche - I liked the idea of cilantro and mint as a nice pairing for the cumin in the roasted carrots but you can use parsley or dill or basil, too. If you're new to crème fraîche - it is similar to sour cream, albeit with a higher fat content (30% vs 20%). You can definitely taste that extra 10% butterfat - it's got a creaminess that feels a little decadent.
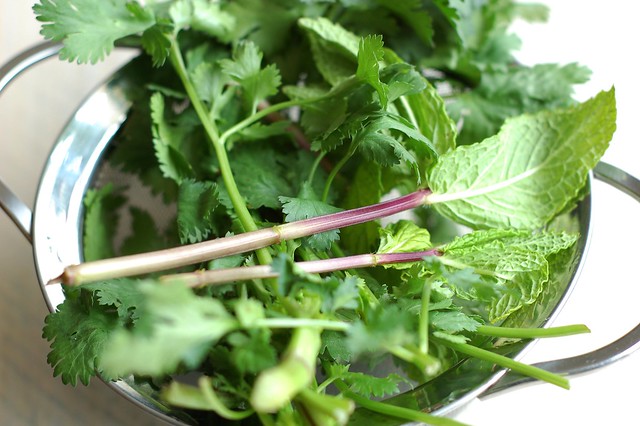
Stir the herbs into the crème fraîche along with some salt and pepper and a little water to thin it to a "drizzle-able" consistency. The resulting sauce lends the whole dish a lovely, rich, tang that is brightened by the herbs.
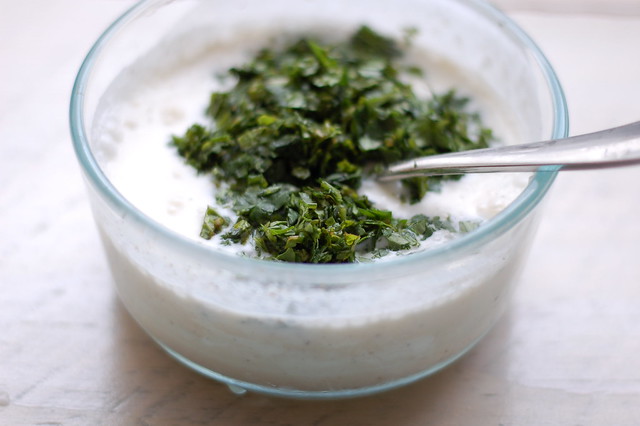
This is one of those dishes that is a lot of fun to plate. Make a base of your grain and bean mixture then lay the carrots on top of it, drizzle with the crème fraîche sauce and sprinkle with pepitas or toasted pinenuts.
-- print recipe --
Garlicky Farro & Chickpeas Topped with Honey Roasted Carrots & Herb-Spiked Crème Fraîche
Serves 6
Ingredients
For the beans and grains
* 1 cup dried farro, rinsed
* 1 1/2 cups or 1 can cooked chickpeas, drained and rinsed (if you use canned, Eden Organics sells their beans in a BPA-free can)
* 1 tsp good olive oil
* 1 tsp fresh lemon juice
* 1 clove garlic, pressed or minced
* ½ tsp sea salt
For the carrots
* 1 lb small carrots, scrubbed or peeled with the tops cut off
* 1 Tbsp good olive oil
* Drizzle of honey (buy local if you can)
* Sprinkle of ground cumin powder
* Sea salt
* Several grinds black pepper
For the crème fraîche
* 1/2 cup crème fraîche (try to find organic if you can)
* 1 Tbsp chopped, fresh cilantro
* 1 Tbsp chopped, fresh mint
* 2 tsps water to thin
* Sea salt and freshly ground pepper to taste
For the pepitas
* 3 Tbsps pepitas (I used tamari roasted pepitas from the store but if they're not available, add the rest of the ingredients and toast in a pan)
* 1/2 tsp good olive oil
* Pinch each of ground cumin powder, sea salt and chili powder
Directions
1. Start by making the farro and chickpea mixture. Add the rinsed farro and three cups of water to a smallish pot and bring to a boil, then turn the flame down and simmer until the farro is tender but still chewy. This will take roughly 15 minutes if you're using the pearled kind of farro and 25-30 minutes or more if you're using whole farro - check the package on whatever kind you use for a more precise estimate. When it's done, drain the farro and return it to the pot along with the olive oil, lemon juice, garlic and salt. Stir well and then add the chickpeas and stir again to combine it all. Cover and set aside until you're ready to assemble the dish. You can make this a day ahead of time and store in the fridge if you like.
2. Preheat the oven to 425° F. Toss the carrots with the olive oil, cumin, salt and pepper on a large baking sheet and arrange in a single layer. Drizzle with honey and roast for 20-25 minutes (time depends somewhat on how large the carrots you're using are), until tender with plenty of browning, then remove and let cool.
3. In a small bowl, combine the crème fraîche, chopped herbs, sea salt, pepper and water and stir to combine. Set aside until you're ready to plate. It's also fine to make this sauce up to a day ahead of time to give the flavors more time to meld.
4. If you're not using already roasted pepitas, heat the olive oil in a small skillet over a medium flame until it shimmers. Add the pepitas and spices and cook, stirring frequently until the pepitas begin to brown a bit and start to make little sizzling, popping noises. Remove from the pan to let them cool to prevent them from burning.
5. You can either plate this dish individually or assemble it on a large platter. Arrange the chickpea and farro mixture on the bottom and lay the carrots over it, drizzle with the herbed crème fraîche, sprinkle with the pepitas and serve.
Garlicky Farro & Chickpeas Topped with Honey Roasted Carrots & Herb-Spiked Crème Fraîche
Serves 6
Ingredients
For the beans and grains
* 1 cup dried farro, rinsed
* 1 1/2 cups or 1 can cooked chickpeas, drained and rinsed (if you use canned, Eden Organics sells their beans in a BPA-free can)
* 1 tsp good olive oil
* 1 tsp fresh lemon juice
* 1 clove garlic, pressed or minced
* ½ tsp sea salt
For the carrots
* 1 lb small carrots, scrubbed or peeled with the tops cut off
* 1 Tbsp good olive oil
* Drizzle of honey (buy local if you can)
* Sprinkle of ground cumin powder
* Sea salt
* Several grinds black pepper
For the crème fraîche
* 1/2 cup crème fraîche (try to find organic if you can)
* 1 Tbsp chopped, fresh cilantro
* 1 Tbsp chopped, fresh mint
* 2 tsps water to thin
* Sea salt and freshly ground pepper to taste
For the pepitas
* 3 Tbsps pepitas (I used tamari roasted pepitas from the store but if they're not available, add the rest of the ingredients and toast in a pan)
* 1/2 tsp good olive oil
* Pinch each of ground cumin powder, sea salt and chili powder
Directions
1. Start by making the farro and chickpea mixture. Add the rinsed farro and three cups of water to a smallish pot and bring to a boil, then turn the flame down and simmer until the farro is tender but still chewy. This will take roughly 15 minutes if you're using the pearled kind of farro and 25-30 minutes or more if you're using whole farro - check the package on whatever kind you use for a more precise estimate. When it's done, drain the farro and return it to the pot along with the olive oil, lemon juice, garlic and salt. Stir well and then add the chickpeas and stir again to combine it all. Cover and set aside until you're ready to assemble the dish. You can make this a day ahead of time and store in the fridge if you like.
2. Preheat the oven to 425° F. Toss the carrots with the olive oil, cumin, salt and pepper on a large baking sheet and arrange in a single layer. Drizzle with honey and roast for 20-25 minutes (time depends somewhat on how large the carrots you're using are), until tender with plenty of browning, then remove and let cool.
3. In a small bowl, combine the crème fraîche, chopped herbs, sea salt, pepper and water and stir to combine. Set aside until you're ready to plate. It's also fine to make this sauce up to a day ahead of time to give the flavors more time to meld.
4. If you're not using already roasted pepitas, heat the olive oil in a small skillet over a medium flame until it shimmers. Add the pepitas and spices and cook, stirring frequently until the pepitas begin to brown a bit and start to make little sizzling, popping noises. Remove from the pan to let them cool to prevent them from burning.
5. You can either plate this dish individually or assemble it on a large platter. Arrange the chickpea and farro mixture on the bottom and lay the carrots over it, drizzle with the herbed crème fraîche, sprinkle with the pepitas and serve.
You might also like:
 |  |  |

 for the wheat flour in the recipe. I'm not an expert on gluten-free flours but have used