Tampilkan postingan dengan label gardening tips. Tampilkan semua postingan

Jumat, 29 April 2016

For Healthier Tomato Plants, Save Your Eggshells

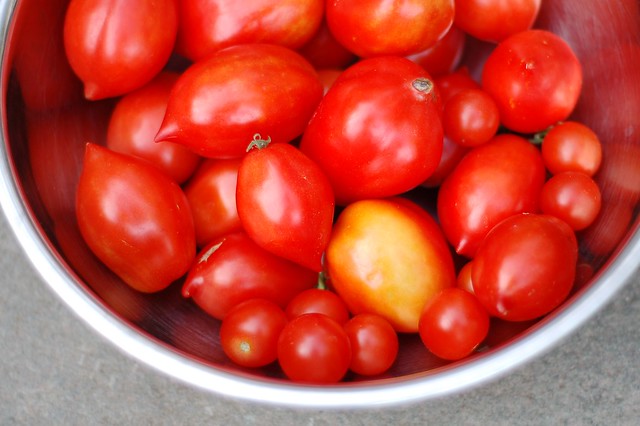
Today's tomato haul from the garden by Eve Fox, the Garden of Eating, copyright 2015

Picking a fat, flavorful tomato off the vine in your own garden is one of life's great pleasures. I love to hold them in my hands, feeling the warmth from the sun, sniffing their aromatic smell and feeling their slight stickiness on my skin before I take a bite.
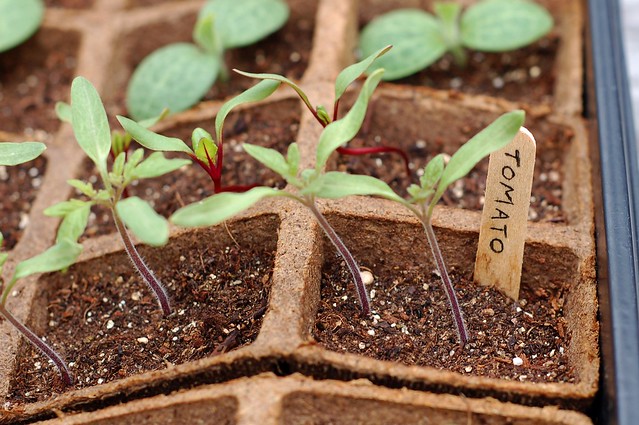
Tomato seedlings - Hudson Valley Seed Library's "Stoneridge Tomato" by Eve Fox, the Garden of Eating, copyright 2016

But it's deeply discouraging when the fruits you've pampered for months and are eagerly anticipating eating begin to turn brown and rot from their tips upwards. It's called blossom end rot and is a common and easily prevented tomato ailment.

Tomatoes suffering from blossom end rot courtesy of Scott Nelson via Flickr

Blossom end rot is caused by a calcium deficiency which is good news, because, unlike many other tomato woes, you can avoid it.

One very simple way to protect your plants is to place a bit of crushed up eggshell in the hole before you put your tomato plant in and fill the dirt in around it. I suggest you start saving your eggshells NOW.
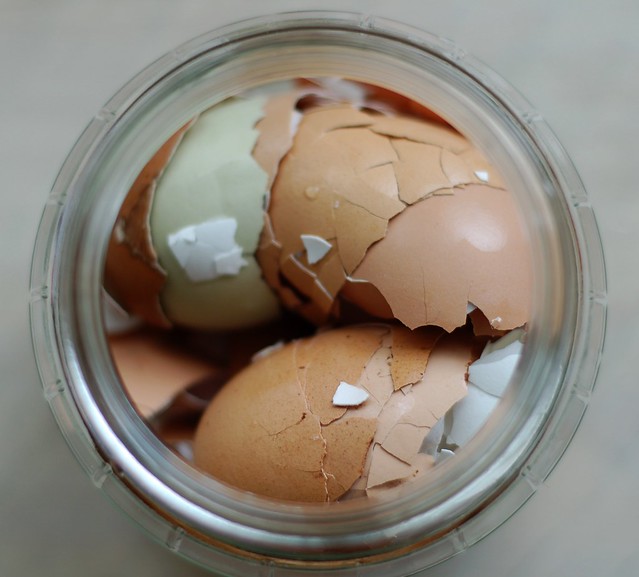
Save eggshells to ensure healthier tomato plants by Eve Fox, the Garden of Eating, copyright 2016

I'm keeping mine in a jar next to the sink to remind me not to toss them into the compost bucket and so far, it's working. You can also just put them back into the carton if you prefer. If you use a jar, leave it open to let them dry out.
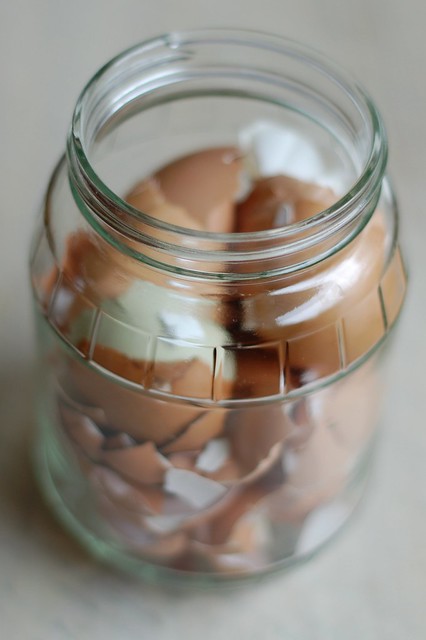
Save eggshells to ensure healthier tomato plants by Eve Fox, the Garden of Eating, copyright 2016

When the time comes to plant your 'maters, just crush them up and pour a little into the bottom of the hole then proceed as usual. Thanks to my friend, Grian, for sharing this wonderful tip about the eggshells. More about Grian and her incredible garden here.
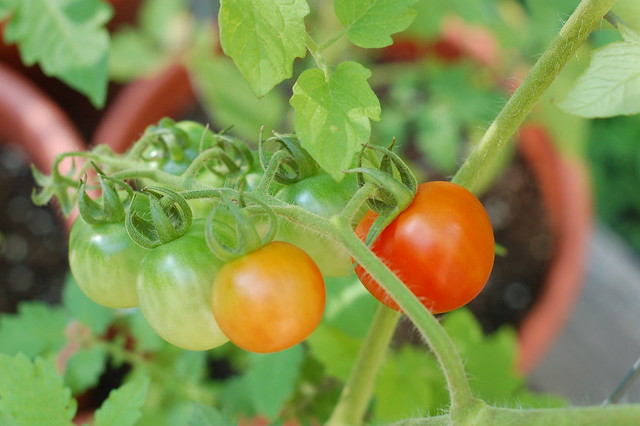
First ripe cherry tomatoes in our garden by Eve Fox, Garden of Eating blog, copyright 2011

A few more tomato-growing tips:

1. Do not grow tomatoes in the same place more than once every three years (or longer). Rotating beds will help prevent problems from diseases like wilts and blights build up in the soil. You should also avoid planting any potatoes, eggplant, tomatillos, and chili and bell peppers in that location as they are all members of the same family of Nightshades and are also susceptible to the same pests. A good rotation would be to plant tomatoes in year one then move on to a brassica crop (cabbage, cauliflower, broccoli or brussels sprouts) the second year then some kind of beans to add nitrogen back to the soil in the third year and then an allium like onion, shallot, leek or scallion the four year. Then back to tomatoes or some other nightshade.

2. Go easy on the nitrogen.  Unlike some plants, tomatoes do not need a ton of nitrogen. Too much can burn them or cause them to put out lush foliage but not many tomatoes - all leaf and no fruit. If you're using a bagged soil mix, look for one that is specifically formulated for tomatoes with higher amounts of phosphorus than nitrogen.

3. Err on the side of less water rather than more. Tomatoes are sensitive to over-watering and do quite well with very little water. In fact, some of the most delicious tomatoes I have ever eaten are the dry-farmed early girls we used to buy at the Berkeley Farmers' Market - the lack of water causes the plants to really concentrate flavors and sugars. Rather than sprinkling them every day, do a deep watering once or twice a week (depending on the weather, that is) to allow the water to get down to the roots where they can suck it up as needed.

4. Don't let dirt splash the plants. If you can rig one up, water your tomatoes via drip irrigation as that way you will avoid splashing the bacteria and fungus in the soil up onto the leaves where they can wreak havoc. If you can't hack a drip system (and most people can't), simply strip off the lower leaves and branches from your plants to avoid the so-called "ladder effect" of bacteria and fungus in the soil splashing up on the plants and infecting the leaves.

5. Pinch off any suckers. You'll get stronger, bushier plants and larger tomatoes if you pinch off any suckers that begin to grow up out of the crotch between the main stem and the branches coming off it. Some kinds of tomato plants can handle more aggressive pinching at various stages, as well but it depends on the type you're growing and what stage of growth the plant is in.

You might also like:
Jumat, 24 Juli 2015

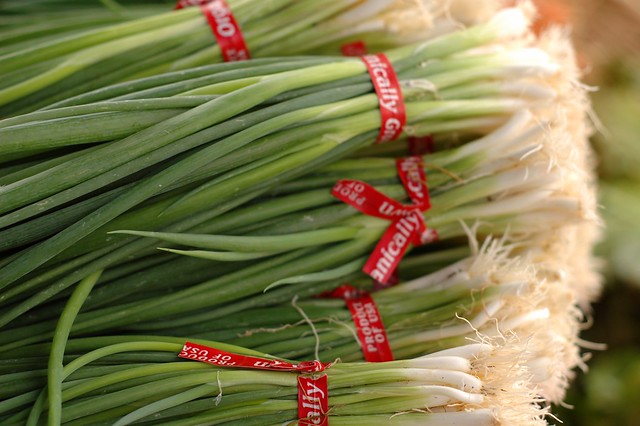
Thrifty Gardening Tip: Don't Chuck Those Scallion Roots

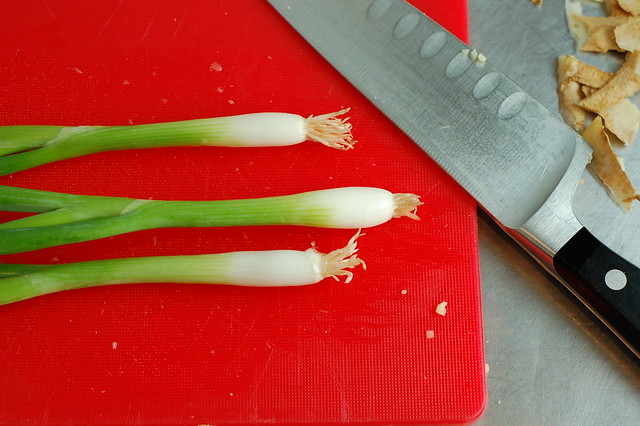
Scallions

I learned this fabulously thrifty little trick from my friend Julia of The Preserved Life on a recent visit to her home. During a tour of her gardens, she asked if I knew that you can grow scallions from the root ends of store-bought scallions that you would typically toss in the compost? I did not but I do now!

I happened to use some scallions a couple days later. I kept the root ends and ran out to try to find a spare patch of ground in my garden.

Scallions by Eve Fox, the Garden of Eating, copyright 2014

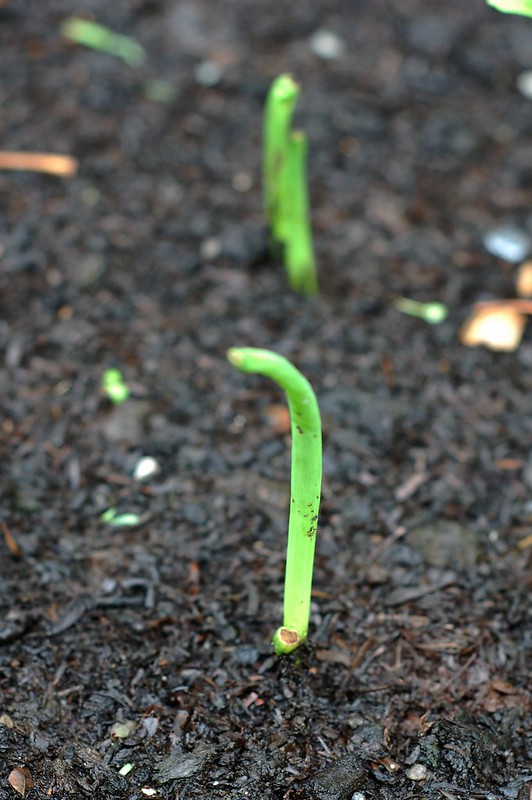
I decided I could fit them in between some onions, cabbages and beets so I poked my finger into the dirt to make some holes, dropped the trimmings in with the root ends down, covered them up with dirt and gave them some water. A week or so later, a little bit of green was poking up out of the dirt.

Baby scallion planted from old roots by Eve Fox, the Garden of Eating, copyright 2015

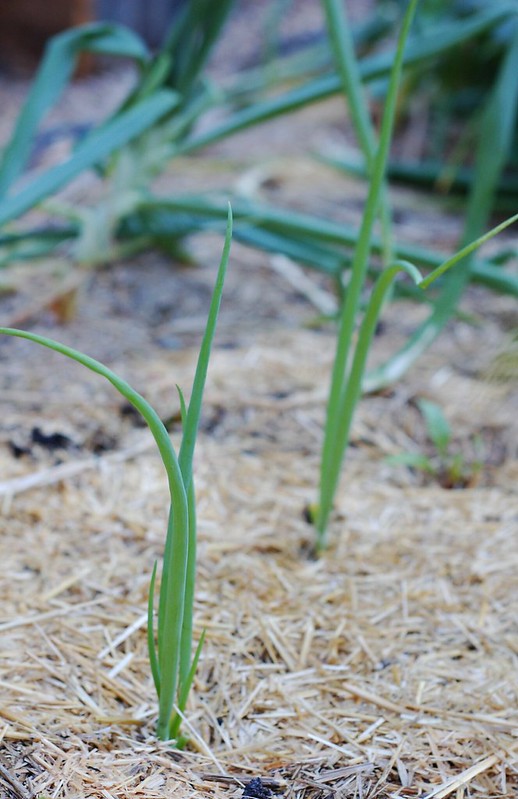
And now, several weeks later, I've got these lovely young scallion plants. So easy!

Scallions grown from scallion root ends by Eve Fox, the Garden of Eating, copyright 2015

Give it a try. And check out Julia's blog - it's one of my very favorites.

You might also like:
For more delicious recipes, gardening ideas, foraging tips, and food-related inspiration "like" the Garden of Eating on Facebook, or follow me on Twitter and Pinterest.

Jumat, 01 Mei 2015

Planting Asparagus Crowns - Investing In a Tasty Future

Last weekend, we planted two dozen + asparagus crowns in our slowly coalescing garden (fencing, fencing, fencing.) Although it will be a few years before we can begin to harvest the spears in earnest because you must first give the plants time to establish themselves, it was very exciting.

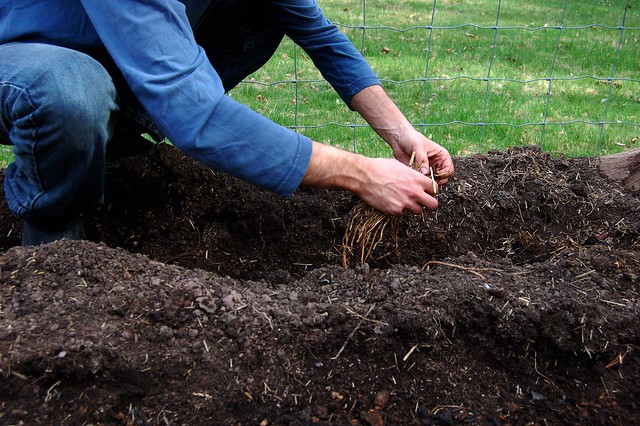
Laying the asparagus crowns over the mounds of compost by Eve Fox, the Garden of Eating, copyright 2015

Just think, in a few short years, we can walk out our door and snap tender green asparagus right out of our own beds. It doesn't get any fresher than that.

Although we're clearly at the beginning of the process, the planting was easy. Here's how it went in case you'd like to make a similar investment in your edible future.

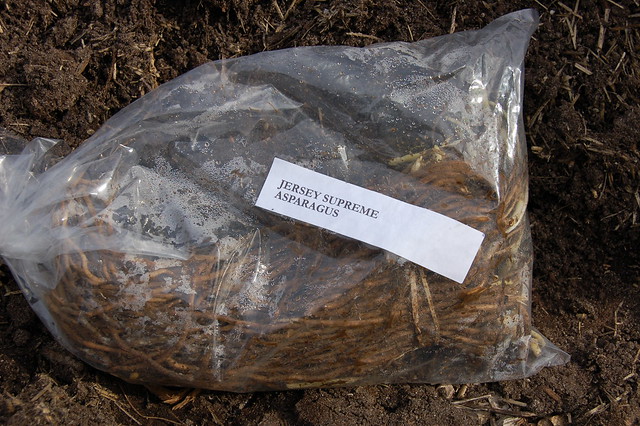
Jersey Supreme second year asparagus crowns by Eve Fox, The Garden of Eating, copyright 2015

1. We ordered 25 second-year Jersey Supreme asparagus crowns from a grower who'd gotten great reviews on Amazon (kind of ironic but we knew the shipping would be quick and liked that we could see real-life reviews from a lot of people.) It cost roughly $20 with the shipping and, as predicted, arrived within a couple of days.
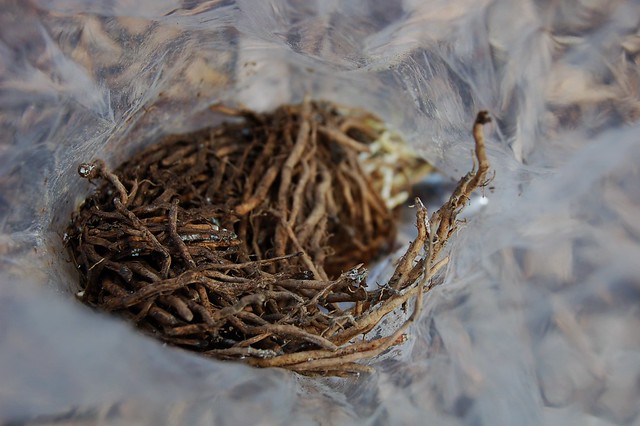
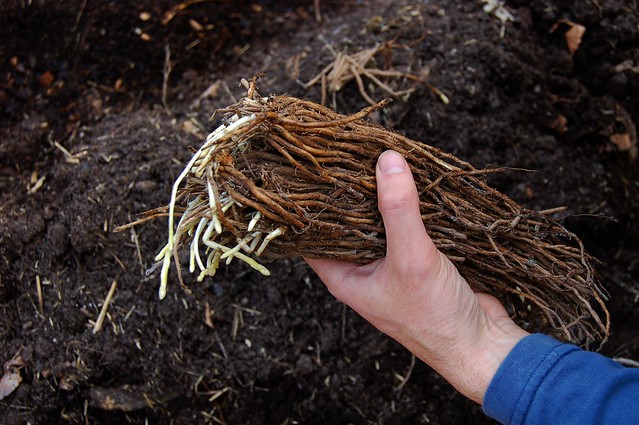
Jersey Supreme second year asparagus crowns by Eve Fox, The Garden of Eating, copyright 2015

If ordering plants online is not your bag, you should be able to get them from a local nursery, in season. Although there are a number of varieties, the basic differences boil down to green or purple. Although the purple ones are really pretty, they turn green when you cook them so we just opted for the plain old green ones. Per the grower's directions, we stored the bag of crowns in the fridge while we readied their bed.

Jersey Supreme second year asparagus crowns by Eve Fox, The Garden of Eating, copyright 2015

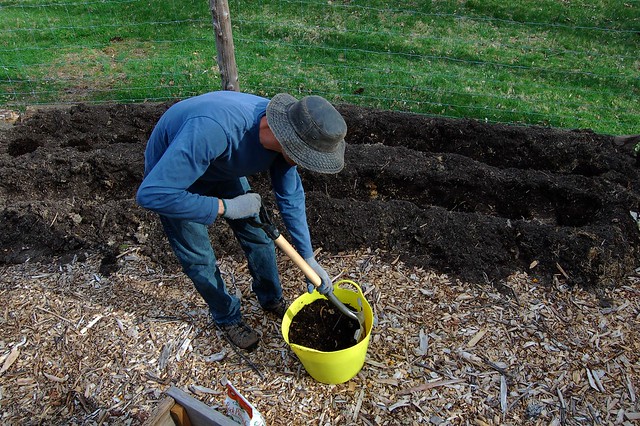
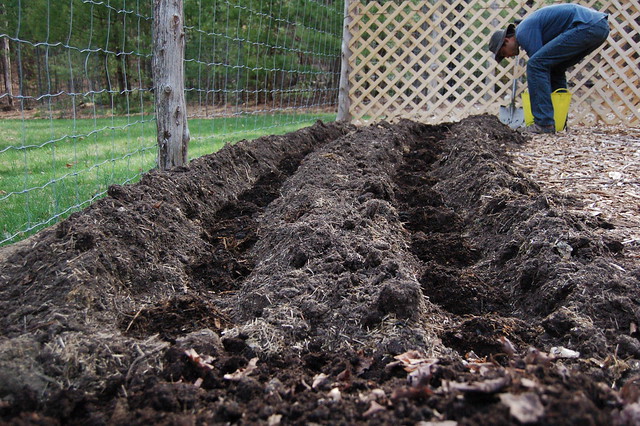
2. My husband, Rahm, dug a roughly 8-inch trench for them to grow in (anything from 6 - 12 inches deep is fine). We planted two rows side by side with about two feet between them.

Turning the compost for the asparagus trench by Eve Fox, The Garden of Eating, copyright 2015

3. He mixed a good amount of our rich composted dirt with a little rock phosphate to help stimulate root growth (follow the directions on the package to get the right amount). Then he dumped a little mound of about four inches of this compost every 12-18 inches along the trench.
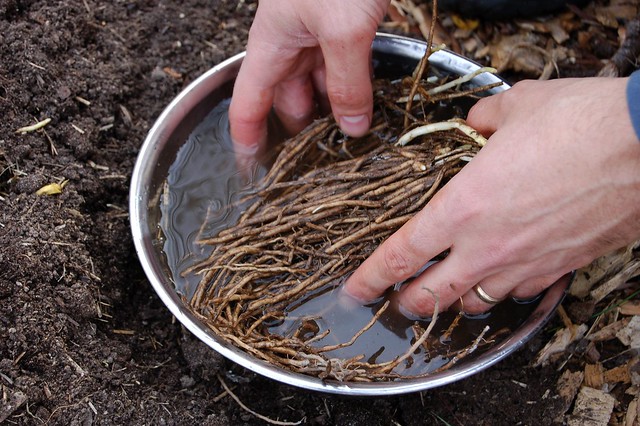
4. Meanwhile, I removed the crowns and soaked them briefly in warm (not hot!) water.

Soaking the asparagus crowns briefly in warm water by Eve Fox, the Garden of Eating, copyright 2015

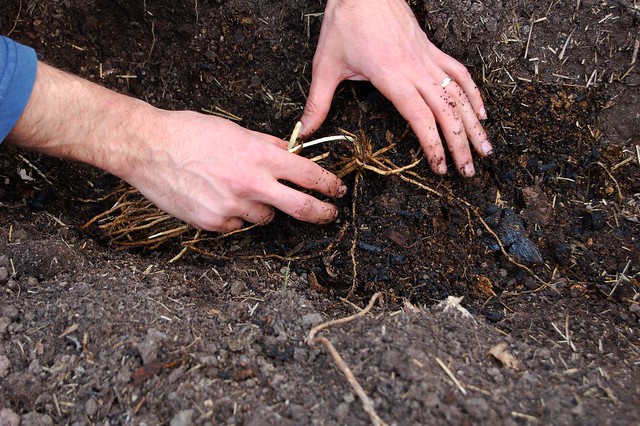
5. Then we untangled the roots of each crown and laid the spidery looking things right on top of the little compost mounds.

Laying the asparagus crowns over the mounds of compost by Eve Fox, the Garden of Eating, copyright 2015

6. Rahm came back through the row and covered the mounds and crowns with about two inches of good dirt, not compost.

Making hillocks of composted dirt in the two trenches for the asparagus crowns by Eve Fox, the Garden of Eating, copyright 2015

7. We would have watered but it was supposed to (and did) rain so we just waited a few hours and they got a good watering in. But you should water if you're not due for a good soaking.

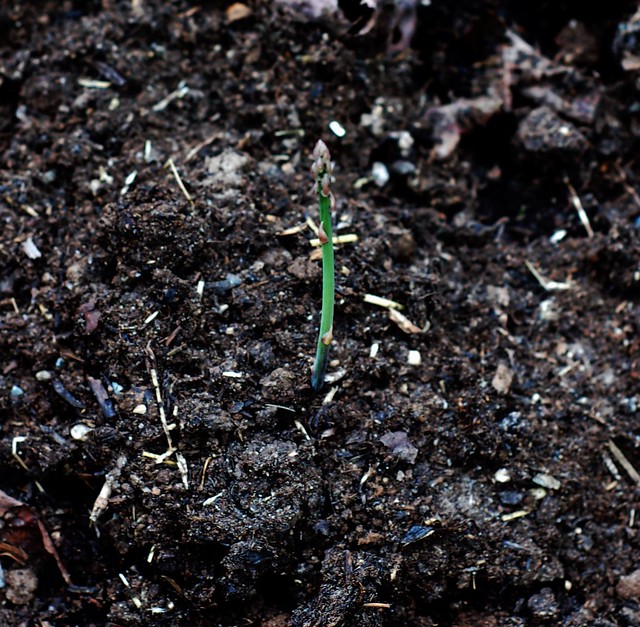
8. Then came the really hard part - waiting for the crowns to put down roots and send up shoots. Everything I read said this takes about a month but we spotted the first proud little sprout two days ago! And a day or so later, little greenish-red heads were breaking through the soil all along the rows.

First asparagus spear is up! by Eve Fox, The Garden of Eating, copyright 2015

Once the greens have poked up about five inches above the surface, we'll cover the trench with another thin layer of soil, leaving the top 3-4 inches of the stems exposed. And we'll repeat that process until the trench is level with the ground around it. Then we'll mulch the bed thickly to discourage weeds and let the plants go "vegetative" as the Farmers Almanac calls it. This lets the roots store up energy and helps them get established. In the fall, we'll cut the dead foliage back and side dress with compost.

9. Apparently, we can harvest a few spears next year but should leave the bulk of them to do their thing and die back on their own, simply trimming the dead foliage in the fall (you can leave it right on top of the dirt to decompose if you like), then dressing with compost and mulching well.

10. Once the beds hit their stride in the third year, we can harvest any spears that are thicker than a pencil. The harvest lasts for about 2-3 weeks. If we have too many, we'll pickle some (so good!) and asparagus also freeze well. Once the harvest has ended, we let the ferns grow to help give the plants more energy for the next year. The beds should produce for at least 20-25 years!!! Just think of all the delicious meals and stinky pee we have ahead of us :)

You might also like:
For more delicious recipes, gardening ideas, foraging tips, and food-related inspiration "like" the Garden of Eating on Facebook, or follow me on Twitter and Pinterest.