Tampilkan postingan dengan label tomatoes. Tampilkan semua postingan

Jumat, 29 April 2016

For Healthier Tomato Plants, Save Your Eggshells

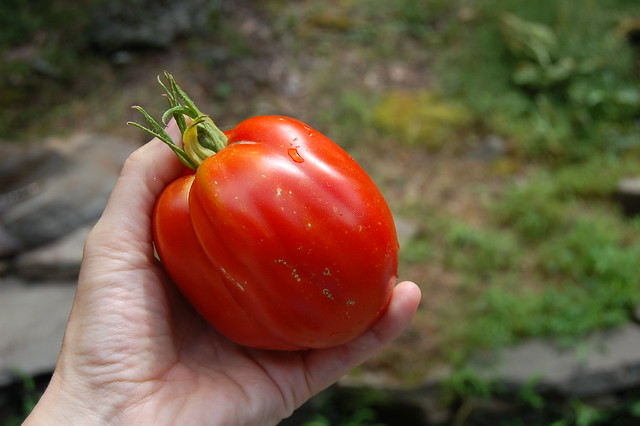
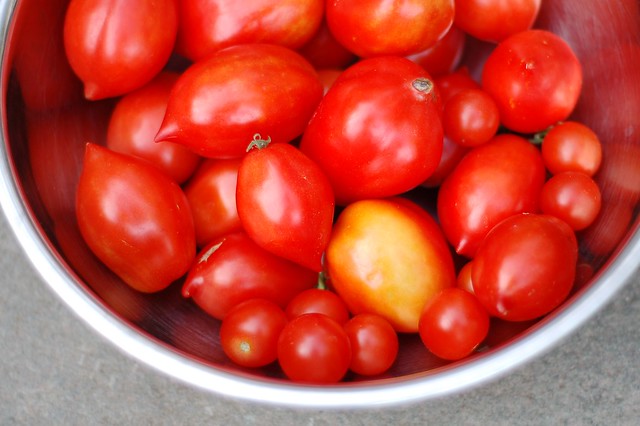
Today's tomato haul from the garden by Eve Fox, the Garden of Eating, copyright 2015

Picking a fat, flavorful tomato off the vine in your own garden is one of life's great pleasures. I love to hold them in my hands, feeling the warmth from the sun, sniffing their aromatic smell and feeling their slight stickiness on my skin before I take a bite.
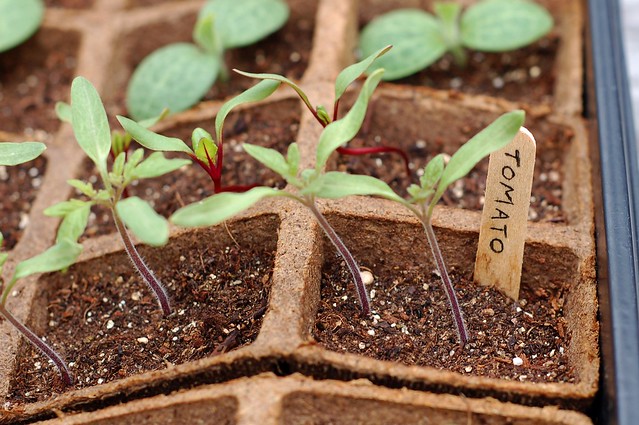
Tomato seedlings - Hudson Valley Seed Library's "Stoneridge Tomato" by Eve Fox, the Garden of Eating, copyright 2016

But it's deeply discouraging when the fruits you've pampered for months and are eagerly anticipating eating begin to turn brown and rot from their tips upwards. It's called blossom end rot and is a common and easily prevented tomato ailment.

Tomatoes suffering from blossom end rot courtesy of Scott Nelson via Flickr

Blossom end rot is caused by a calcium deficiency which is good news, because, unlike many other tomato woes, you can avoid it.

One very simple way to protect your plants is to place a bit of crushed up eggshell in the hole before you put your tomato plant in and fill the dirt in around it. I suggest you start saving your eggshells NOW.
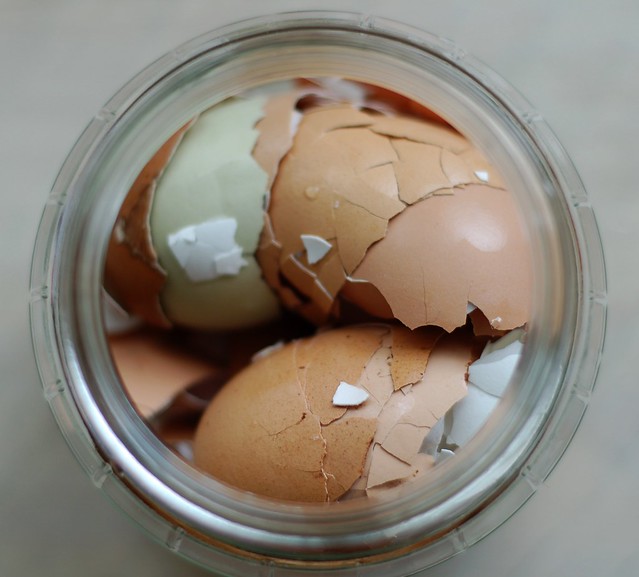
Save eggshells to ensure healthier tomato plants by Eve Fox, the Garden of Eating, copyright 2016

I'm keeping mine in a jar next to the sink to remind me not to toss them into the compost bucket and so far, it's working. You can also just put them back into the carton if you prefer. If you use a jar, leave it open to let them dry out.
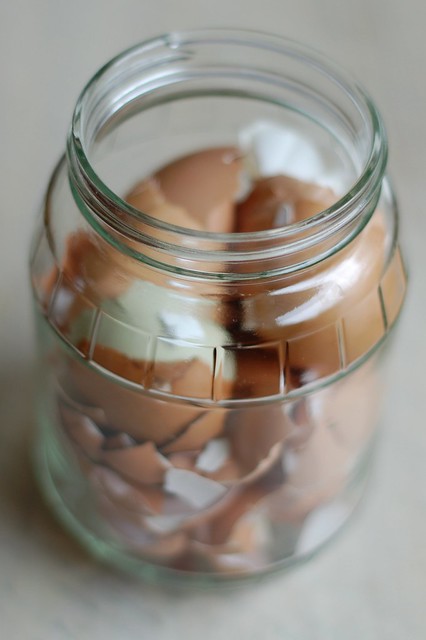
Save eggshells to ensure healthier tomato plants by Eve Fox, the Garden of Eating, copyright 2016

When the time comes to plant your 'maters, just crush them up and pour a little into the bottom of the hole then proceed as usual. Thanks to my friend, Grian, for sharing this wonderful tip about the eggshells. More about Grian and her incredible garden here.
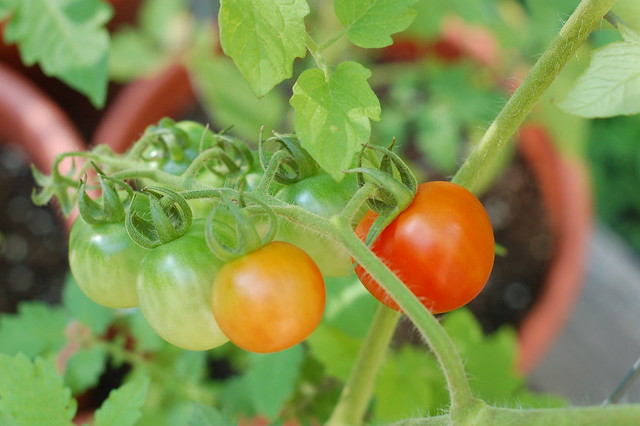
First ripe cherry tomatoes in our garden by Eve Fox, Garden of Eating blog, copyright 2011

A few more tomato-growing tips:

1. Do not grow tomatoes in the same place more than once every three years (or longer). Rotating beds will help prevent problems from diseases like wilts and blights build up in the soil. You should also avoid planting any potatoes, eggplant, tomatillos, and chili and bell peppers in that location as they are all members of the same family of Nightshades and are also susceptible to the same pests. A good rotation would be to plant tomatoes in year one then move on to a brassica crop (cabbage, cauliflower, broccoli or brussels sprouts) the second year then some kind of beans to add nitrogen back to the soil in the third year and then an allium like onion, shallot, leek or scallion the four year. Then back to tomatoes or some other nightshade.

2. Go easy on the nitrogen.  Unlike some plants, tomatoes do not need a ton of nitrogen. Too much can burn them or cause them to put out lush foliage but not many tomatoes - all leaf and no fruit. If you're using a bagged soil mix, look for one that is specifically formulated for tomatoes with higher amounts of phosphorus than nitrogen.

3. Err on the side of less water rather than more. Tomatoes are sensitive to over-watering and do quite well with very little water. In fact, some of the most delicious tomatoes I have ever eaten are the dry-farmed early girls we used to buy at the Berkeley Farmers' Market - the lack of water causes the plants to really concentrate flavors and sugars. Rather than sprinkling them every day, do a deep watering once or twice a week (depending on the weather, that is) to allow the water to get down to the roots where they can suck it up as needed.

4. Don't let dirt splash the plants. If you can rig one up, water your tomatoes via drip irrigation as that way you will avoid splashing the bacteria and fungus in the soil up onto the leaves where they can wreak havoc. If you can't hack a drip system (and most people can't), simply strip off the lower leaves and branches from your plants to avoid the so-called "ladder effect" of bacteria and fungus in the soil splashing up on the plants and infecting the leaves.

5. Pinch off any suckers. You'll get stronger, bushier plants and larger tomatoes if you pinch off any suckers that begin to grow up out of the crotch between the main stem and the branches coming off it. Some kinds of tomato plants can handle more aggressive pinching at various stages, as well but it depends on the type you're growing and what stage of growth the plant is in.

You might also like:

Minggu, 31 Agustus 2014

Rustic Roasted Tomatoes with Garlic & Herbs

Slow roasted heirloom tomatoes with garlic and herbs by Eve Fox, the Garden of Eating, copyright 2014

After two months of losing all our tomatoes to the gangs of hungry chipmunks roaming our property, our plants have finally started producing so many ripe 'maters that even the chipmunks can't keep up with the pace and have had to give up their life's work of taking a single bite out of each one just as it nears ripeness. I feel for them, really, I do.

Ulster Germaid tomato from our garden by Eve Fox, Garden of Eating blog, copyright 2012

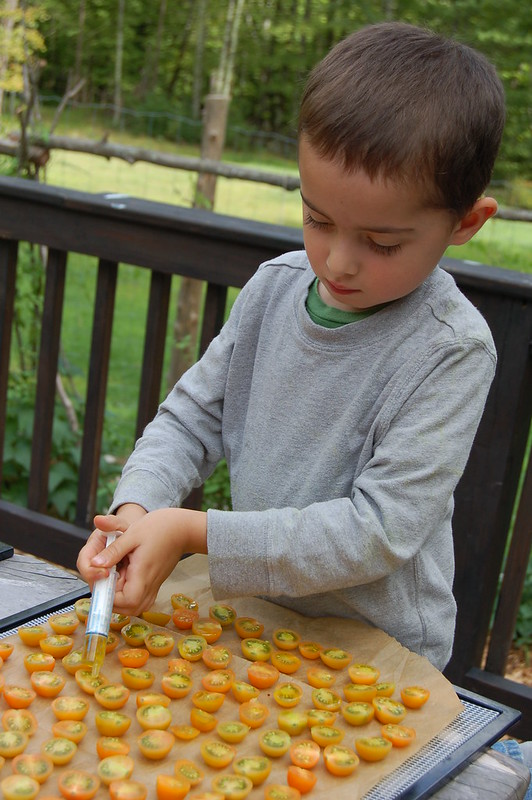
As a result we've been harvesting some big, beautiful juicy red tomatoes and tons of little, yellow-orange sungold cherry tomatoes, too. We've had Excalibur, our food dehydrator, whirring away out on the screened porch turning the tiny golden orbs into tomato candy - these amazing little bites of concentrated sweetness and intensely tomatoey flavor. It's a good project for Will who uses his little doggie knife to cut them in half and then drizzles olive oil over them before they go into the dehydrator.

Will drizzling olive oil over the sungold tomatoes by Eve Fox, copyright 2014

But I wasn't sure what I wanted to do with the really big ones. Luckily, I happened to catch a great demo on tomato preservation by Amy Jackson of Amy's Takeaway at the Woodstock Farm Festival two weeks ago. One of the things she'd brought with her was a huge tray of roasted heirloom tomatoes with herbs. They looked and tasted incredible. So I filed the idea away in my semi-functional memory and dusted it off yesterday when I started worrying that our kitchen counters might collapse under the weight of the most recent tomato harvest.

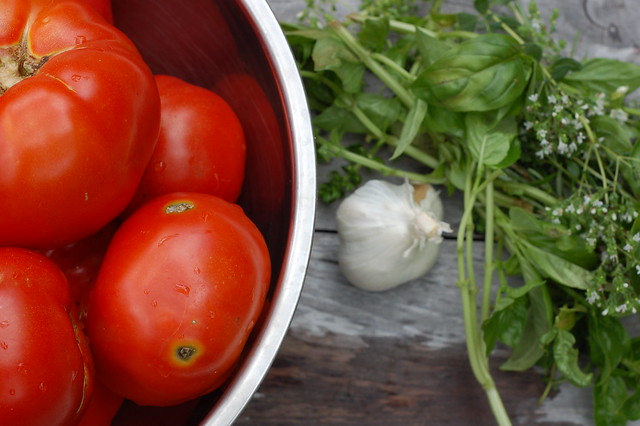
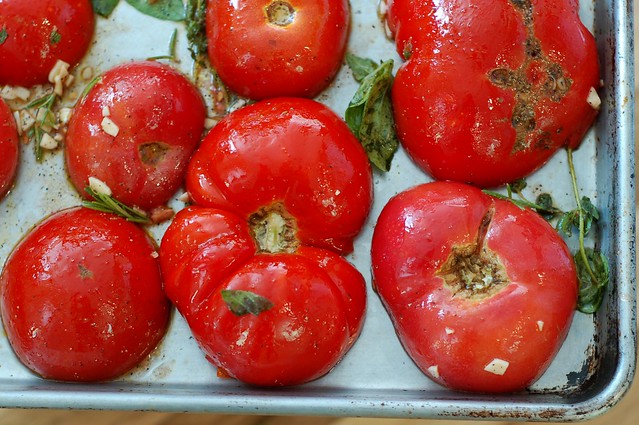
Ingredients for the slow roasted heirloom tomatoes with garlic and herbs by Eve Fox, the Garden of Eating, copyright 2014

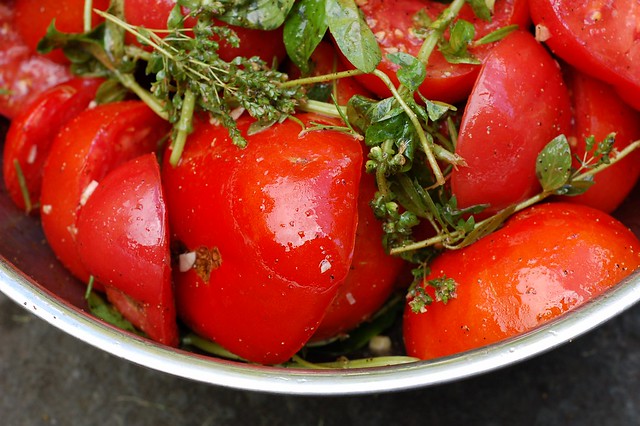
I ran outside and picked a bunch of basil, oregano and rosemary (thyme would also be great). I included the flowers from my basil and oregano plants since Amy says they add great flavor. Then I cut the tomatoes in half, sliced the garlic and tossed it all together with olive oil, salt and pepper.

Tossing the heirloom tomatoes with olive oil, garlic and herbs by Eve Fox, the Garden of Eating, copyright 2014

I arranged the tomatoes cut-side down on the baking sheets and put them into the oven.

A tray of heirloom tomatoes with garlic and herbs heading into the oven by Eve Fox, the Garden of Eating, copyright 2014

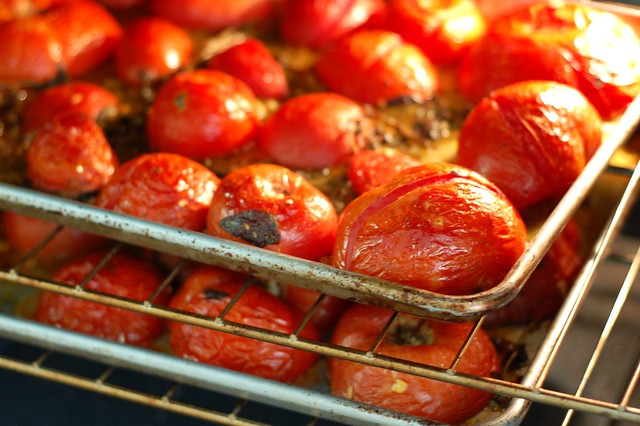
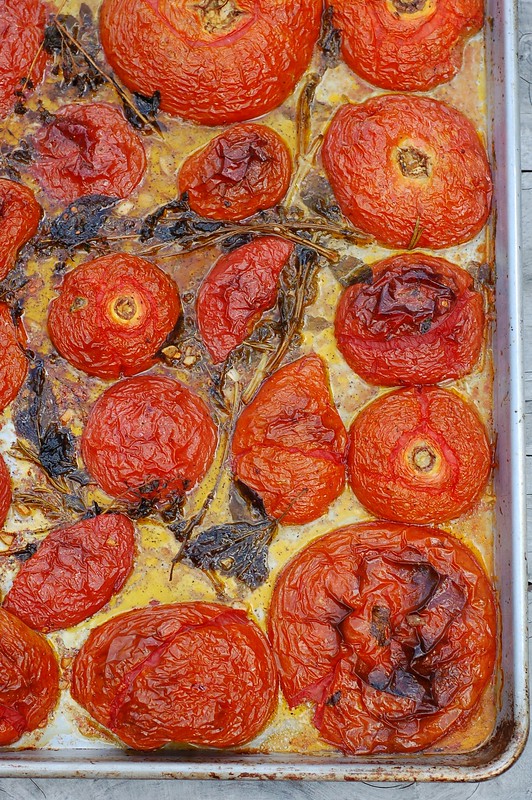
Shortly afterwards the most beautiful smell - a melting marriage of garlic, herbs and tomatoes - began to creep through the house. If you could bottle the essence of Italian cooking, I imagine that this is what it would smell like. Two hours later I opened the oven to find two beautiful trays of roasted tomatoes.

Slow roasted heirloom tomatoes with garlic and herbs by Eve Fox, the Garden of Eating, copyright 2014

They looked like something you might see on the cover of Saveur...

Slow roasted heirloom tomatoes with garlic and herbs by Eve Fox, the Garden of Eating, copyright 2014

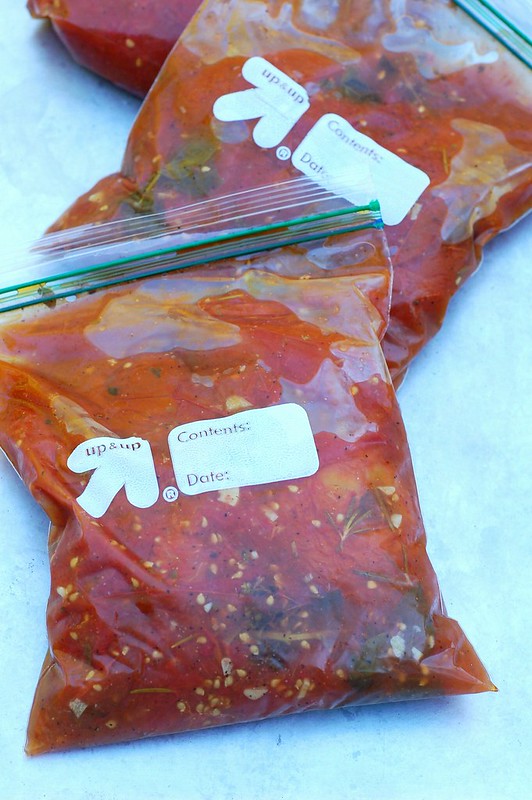
I let them cool off then split them amongst three quart freezer bags for use this winter. This is by far the easiest way I've ever preserved tomatoes and it is definitely among the tastiest.

Bagged and ready for the freezer - slow-roasted heirloom tomatoes with garlic and herbs by Eve Fox, the Garden of Eating, copyright 2014

-- print recipe --Roasted Tomatoes with Garlic & Herbs

Ingredients

* Tomatoes - as many or as few as you have on hand
* Garlic - base the amounts on how many tomatoes you have
* Olive oil
* Sea salt
* Freshly ground black pepper
* Fresh herbs - basil, oregano, thyme and rosemary are all good - you can mix and match depending on what you like and what you have handy

Directions

1. Preheat the oven to 325 and wash the tomatoes and the herbs (you can leave everything on its stalks). Thinly slice the garlic and toss it into a large mixing bowl along with the olive oil, sea salt, pepper and fresh herbs.

2. Slice the tomatoes in half around the middle (the wide way so you don't go through the stem) and add them to the mixing bowl. Toss them gently to ensure they're coated with the herbs, garlic then turn them out onto the baking sheets and turn the tomatoes cut side down.

3. Bake for two hours then remove and let cool. Use however you see fit - these make a great sauce for pasta just as they are or you can also use them as a base for a sauce or stew. Or freeze them for later.

You might also like:
For more delicious recipes, gardening ideas, foraging tips, and food-related inspiration "like" the Garden of Eating on Facebook, or follow me on Twitter and Pinterest.